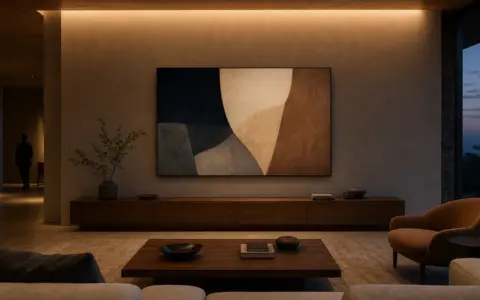


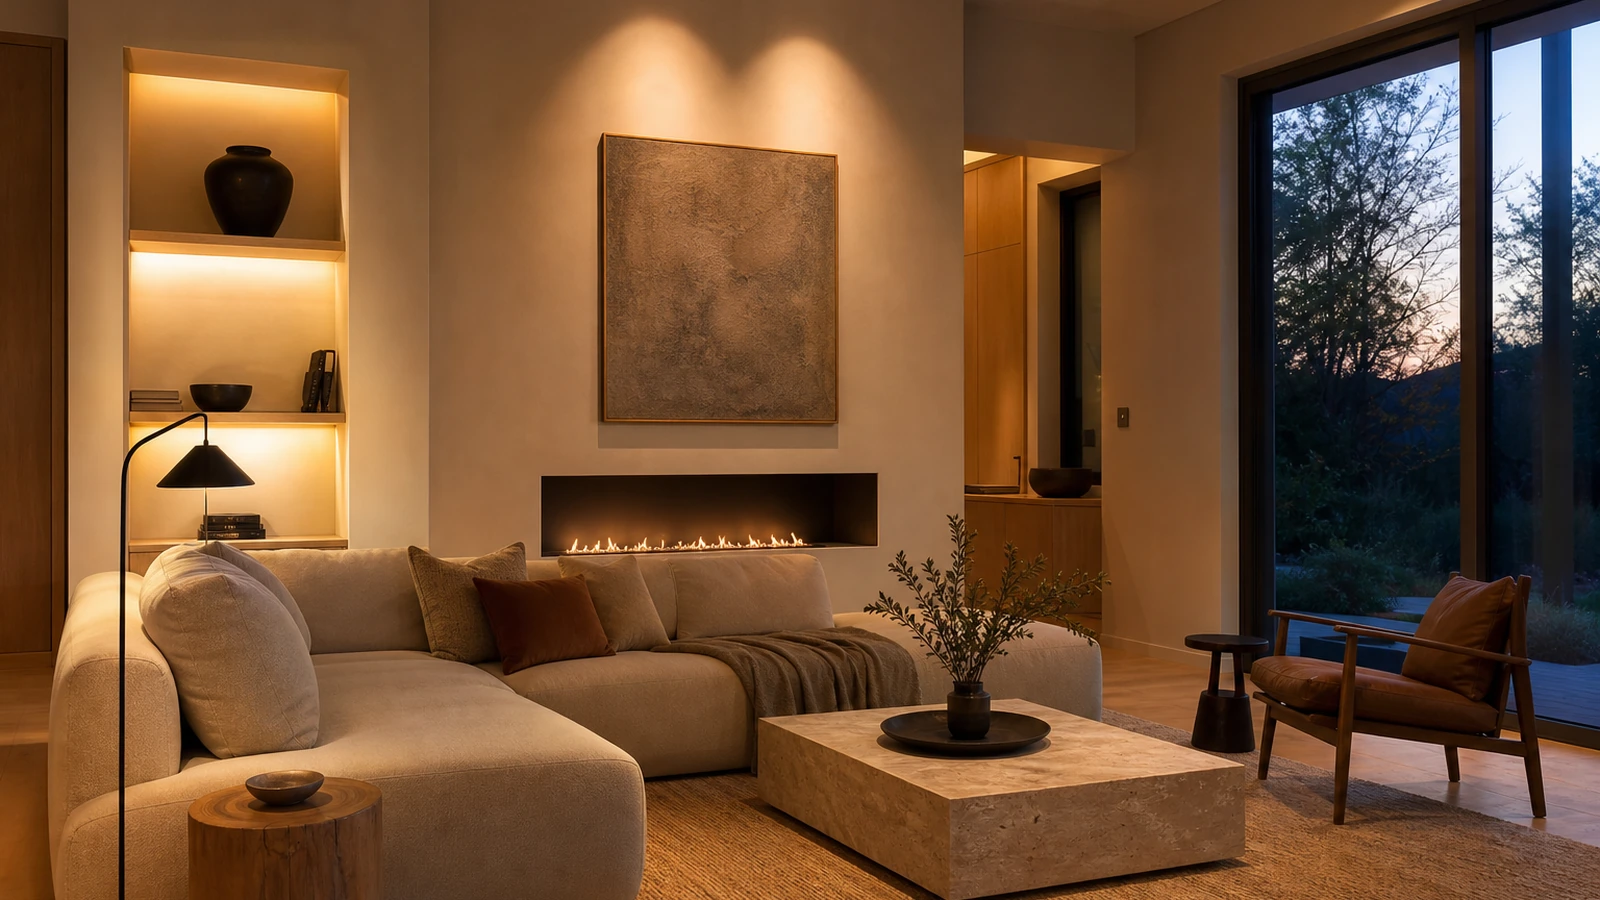
Smart lighting looks best when the technology supports the room instead of becoming the room. The goal is not to make every bulb change color or to cover every wall with controls. It is to put the right amount of light where people need it, give important surfaces enough definition, and make common adjustments simple. A successful plan should still feel calm when nobody is thinking about the app.
Begin with the room’s activities and existing architecture, then choose fixtures, lamps, circuits, and controls. Smart features come last. Product behavior, dimmer compatibility, fixture ratings, local electrical rules, and installation requirements vary, so verify the exact manuals before buying or changing anything. Use a qualified electrician whenever work involves fixed wiring, unfamiliar boxes, damaged equipment, or uncertainty about local requirements.
Start with what the room needs to do
List the activities that actually happen in the room: conversation, television, reading, homework, cooking, dressing, cleaning, exercising, or moving through at night. Mark where each activity occurs and who performs it. A reading chair needs useful light at the page. A television area benefits from controlled contrast. A dining table often needs enough light for food and faces without making the surrounding room disappear.
Next, note the room’s fixed conditions. Record window direction, dark corners, reflective screens, glossy surfaces, ceiling height, wall color, fixture locations, available outlets, and existing switches. Observe the room in the morning, afternoon, and after dark. Daylight may do most of the work at one hour and leave the same seat uncomfortable later. This short survey prevents a common mistake: buying more smart bulbs when the room really needs a better-positioned lamp or a different fixture.
Build three layers instead of one bright ceiling
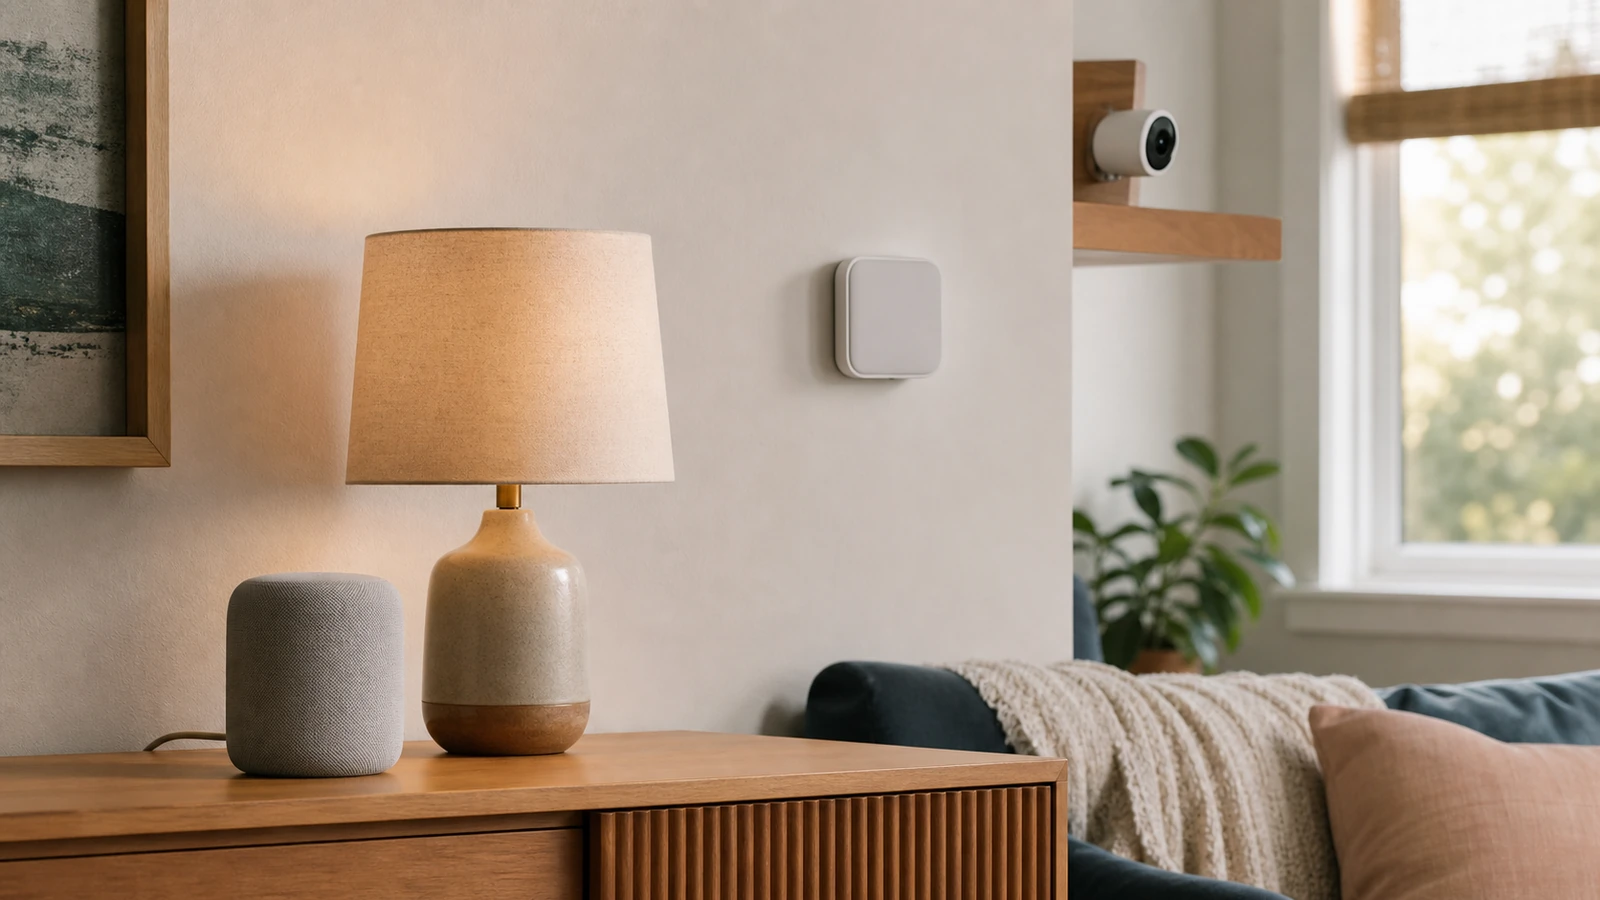
Ambient light provides general visibility and safe movement. It may come from ceiling fixtures, shaded floor lamps, wall-mounted fixtures, or indirect light reflected from a ceiling or wall. It should establish a usable baseline, not necessarily supply every task. If the only strategy is one very bright overhead source, faces and furniture can look flat while seated tasks still receive poor light.
Task light serves a specific job. A desk lamp, under-cabinet light, bedside lamp, or reading lamp can put light close to the work, often with less spill and glare than increasing the whole room’s brightness. Place it in relation to the user’s hands, head, and screen. Test the actual working position rather than judging an empty desk.
Accent light gives depth by drawing attention to a wall, shelf, plant, artwork, or architectural surface. It is optional. A room does not become more sophisticated simply because every object has a spotlight. Choose one or two visual priorities and leave quieter areas quiet. Smart dimming is especially useful here because the accent can remain subordinate as ambient light changes.
| Layer or zone | Primary job | Useful control | Check in the room |
|---|---|---|---|
| Ambient | General visibility and circulation | Wall control plus dimming when compatible | Can people enter, sit, and move without harsh contrast? |
| Task | Reading, cooking, desk work, or grooming | Local lamp control or a clearly named zone | Does the light reach the task without reflecting into eyes or screens? |
| Accent | Depth and attention on selected surfaces | Grouped dimming within a scene | Does it support the focal point instead of competing with it? |
| Night path | Low-disruption movement after dark | Simple button, sensor, or restrained automation | Is the path visible without flooding nearby sleeping areas? |
| Cleaning | Temporary, broad visibility | One reliable scene or physical control | Can the room become fully usable without adjusting devices one by one? |
Choose zones that match human behavior
A zone is a group people will usually adjust together. Good examples are “ceiling,” “reading corner,” “desk,” and “shelf,” not a list of twelve bulb model names. Stand at each entrance and imagine arriving with full hands. Then sit in every main seat and imagine making the room brighter or dimmer. The desired action should be available from those positions without a search through nested menus.
Fewer zones usually make scenes easier to understand. Separate a light only when independent control solves a real need. Two lamps on opposite sides of a sofa may belong together for conversation but need separate local controls for reading. A flexible plan can group them for scenes while preserving each lamp’s physical switch or button.
Name zones by place or purpose and use the same terms across household instructions. “Window lamp” is easier to recognize than a manufacturer-generated device name. If voice control is used, choose names that sound distinct. Avoid near-duplicates that a person or assistant may confuse.
Decide whether the intelligence belongs in the bulb, switch, plug, or hub
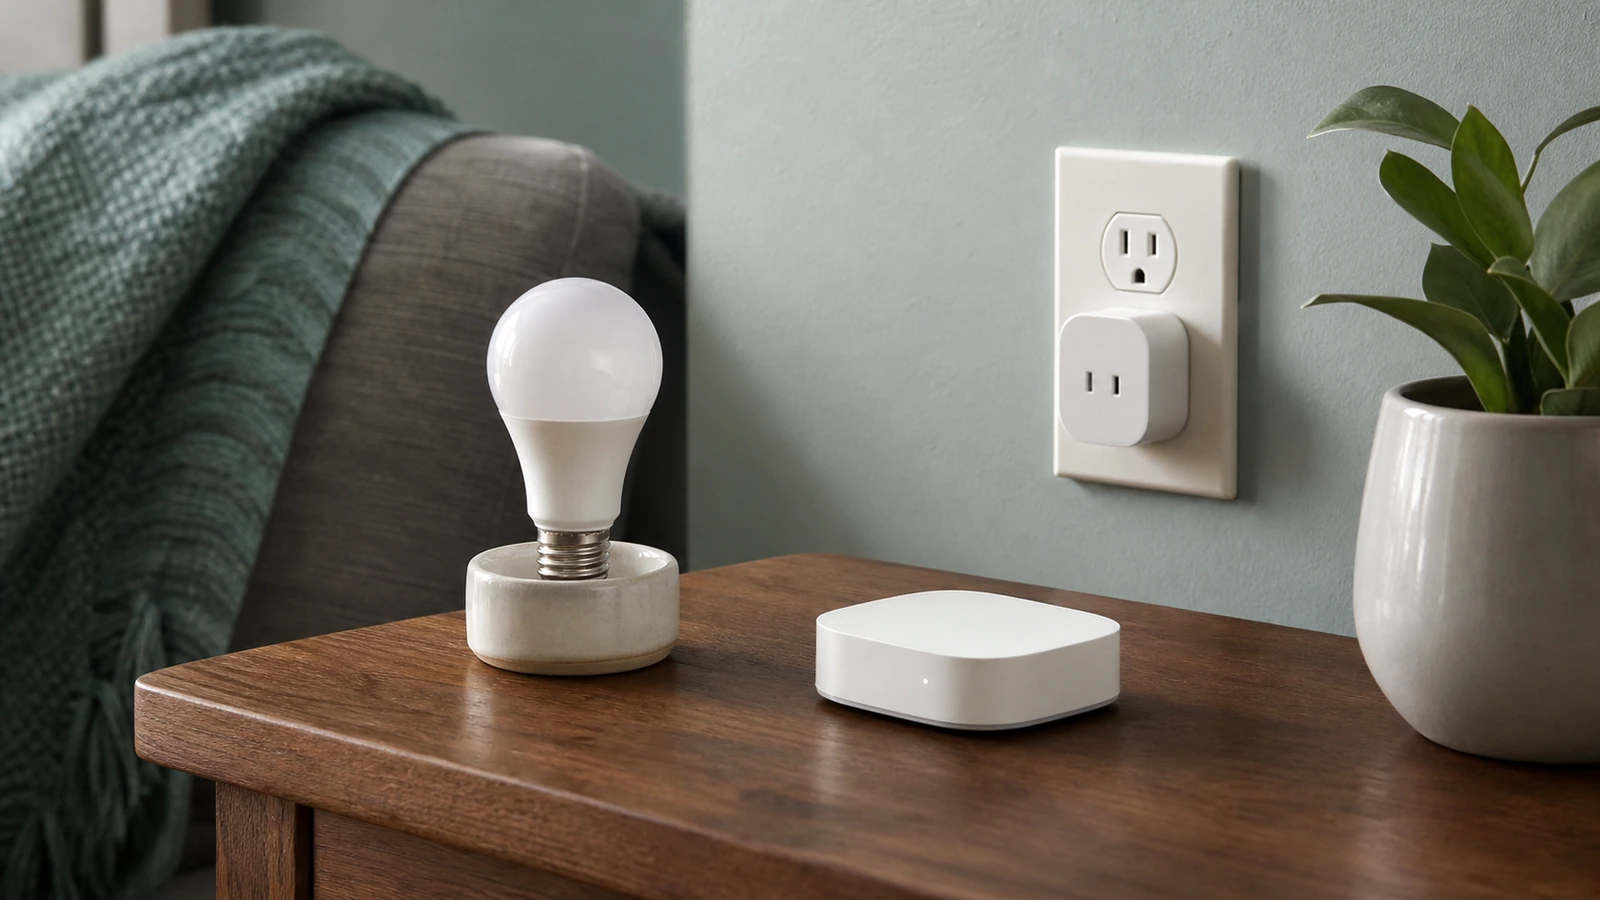
Smart bulbs can provide individual dimming and, on some models, adjustable white or color. They generally need continuous power to remain reachable, which can conflict with a familiar wall switch that cuts power. Smart wall controls can preserve a normal interaction and control several compatible lights together, but they may require particular wiring, loads, fixtures, or installation methods. Smart plugs may suit certain portable lamps when both the plug and lamp are appropriate for switched control. They are not a universal substitute for a compatible lighting control.
A hub or bridge can coordinate compatible devices and may enable local controls or automations, but capabilities differ. Before committing, read the exact documentation for what happens when the internet is unavailable, when the hub is offline, and after power returns. The Disco Lift guide to smart plugs, bulbs, and hubs explains how to start with one routine and preserve manual control.
For each proposed device, write down five things: what it controls, what powers it, what physical control remains, what network or hub it depends on, and how it is reset or removed. This small inventory exposes fragile designs before they spread across the room.
Treat color and color temperature as supporting choices
Adjustable white light can help one fixture serve different activities, but more settings do not automatically improve a room. Start with a comfortable white appearance for ordinary evening use. Then test a somewhat brighter or cooler-looking setting for detail-oriented tasks and a dimmer or warmer-looking setting for winding down. Perception varies with the fixture, shade, wall colors, surrounding light, and personal preference, so compare settings in the finished room rather than relying on a number or product photo.
Colored light is strongest when used with restraint. A low accent on one wall or shelf can create atmosphere; several saturated sources can make furniture, art, and skin tones compete. Save vivid colors for deliberate occasions if the household enjoys them. Keep a neutral scene one tap or one physical action away.
Do not assume two products with similar advertised specifications will match perfectly. If adjacent lamps must look alike, test them together before buying many units. Preserve receipts and confirm return terms. Even within one system, fixture optics and shade materials can make the same lamp appear different.
Use scenes as shortcuts, not decoration
A scene is useful when it replaces several predictable adjustments. Begin with three or four: “Arrive,” “Read,” “Relax,” and “Clean” may be enough. Define each in plain language before programming it. For example, “Relax” might keep the reading lamp available, lower the ambient zone, and turn off the shelf accent after a chosen hour. The names should describe activities rather than moods only household experts understand.
Set scene levels while doing the activity. Sit on the sofa, watch the screen, open a book, or clean the floor. A scene designed while standing beside the switch can look very different from the main seat. Revisit it after a week. If nobody uses a scene, remove or simplify it rather than leaving another choice in the interface.
Automations should have a clear trigger, limit, and override. A motion-triggered path light may be helpful at night, but it needs a duration and a way to prevent unwanted activation. A sunset routine should account for whether someone is home and whether daylight is still adequate. Prefer rules that are easy to predict over elaborate sequences that surprise the room’s occupants.
Keep physical controls obvious
A visitor should be able to enter and turn on a useful light without knowing the system. Residents should not need a charged phone to perform a basic action. Wall controls, lamp buttons, scene keypads, or other approved physical controls should be placed and labeled through location and grouping, not through a long instruction sheet.
If a conventional switch must remain on to power smart bulbs, consider whether that behavior will be tolerable in daily life. A cover, compatible smart control, or different device strategy may help, but do not improvise around electrical hardware. Any fixed-wiring solution should follow its listed purpose, manufacturer directions, and applicable local requirements.
Also decide what happens during internet failure, hub failure, app sign-out, and power restoration. Test these conditions safely after setup. A room should recover to a reasonable state, and the household should know the simplest fallback. Review account permissions and updates as part of the broader smart-home privacy settings, especially when the lighting system is shared with guests, children, or service providers.
Plan for wireless coverage without putting gadgets on display
Wireless reliability matters, but moving every hub and router into the center of a styled surface is not the only answer. First confirm what radio each product uses and what components communicate directly. Some lamps talk to a nearby bridge; others depend on Wi-Fi. Dense materials, metal enclosures, distance, interference, and the home’s layout can affect performance. Do not hide radio equipment inside a cabinet unless the manufacturer permits it and the connection remains stable.
Test a small number of devices in their final positions before scaling up. If the room has weak Wi-Fi, address the network rather than adding lighting products blindly. The comparison of Wi-Fi extenders and mesh systems can help frame that decision. A lighting plan should not become the reason for an uncontrolled stack of repeaters, bridges, and power adapters.
Control glare, reflections, and visible clutter
Look at every source from normal eye height in each seat. If the bright lamp itself is visible, adjust the shade, fixture position, aiming, or output. Check television and computer screens for reflections with scenes active. Glossy tables and framed artwork can also bounce small sources into the eye. Dimming may reduce discomfort, but placement and shielding often solve the underlying problem more effectively.
Hide only what can be hidden safely. Drivers, power supplies, hubs, and cables may need ventilation, service access, separation, or a particular mounting orientation. Do not pack them tightly behind fabric or furniture. Keep reset buttons and plugs reachable. A tidy room that requires dismantling a cabinet to restart one component will not remain tidy for long.
Install in one-room stages
- Sketch the room. Mark activities, daylight, fixtures, switches, outlets, seats, screens, and focal surfaces.
- Improve placement first. Move or add an appropriate portable lamp before automating a weak arrangement.
- Choose layers and zones. Define what each group does and which physical control remains available.
- Verify compatibility. Check fixture type, lamp dimensions, dimming method, voltage, load range, wiring needs, network, hub, and app support in current manuals.
- Prototype. Install one or two devices, test normal controls, and observe the room at multiple times.
- Create a few scenes. Program activities, not effects, and make the neutral default easy to restore.
- Test failure and recovery. Safely check app access, internet interruption, power restoration, and household understanding.
- Document and stop. Record device names, ownership, reset steps, and successful settings. Add more only when a remaining problem is clear.
Common ways a room becomes visually busy
Too many visible fixtures create competing pools of light. Too many colors fight with the room’s materials. Too many zones turn a simple adjustment into device management. Too many automations make lights appear to have a mind of their own. And too many ecosystems leave several hubs, apps, and controls performing overlapping jobs.
The correction is usually subtraction. Choose one focal point, reduce the number of active scenes, group lights that move together, and restore a dependable default. Put secondary hardware where it remains ventilated and serviceable but does not dominate the room. If a feature needs repeated explanation, it may not deserve a place in the everyday interface.
Smart-lighting FAQ
Do all lights in a room need to be smart?
No. Automate the controls that solve repeated problems and leave straightforward lights alone. A mixed room can work well when its physical controls are clear and scenes do not depend on manually resetting ordinary switches.
Are smart bulbs or smart switches better?
Neither is universally better. Bulbs may offer individual effects but typically need continuous power. Wall controls can support familiar operation but have model-specific wiring and load requirements. Choose based on the circuit, fixtures, desired zones, renter or owner constraints, and professional guidance where fixed wiring is involved.
How many lighting scenes should a room have?
Start with three or four activity-based scenes and add only after a repeated need appears. A scene that nobody remembers or uses is clutter, even if it exists only in an app.
Should smart lights turn on automatically?
Only when the trigger is predictable and the automation has a clear limit and override. Test occupancy, timing, and power-restoration behavior. Avoid automation where an unexpected change could distract, wake, or confuse occupants.
Can a hub or router be hidden in a cabinet?
Only if the manufacturer permits the placement, ventilation remains adequate, service access is practical, and wireless performance is verified. Metal, dense materials, heat, and distance can affect equipment differently.
The takeaway
Plan smart lighting as an interior-lighting system first and a technology system second. Give the room ambient, task, and optional accent layers; group them into a few human-scale zones; preserve physical control; and create only the scenes people use. Verify every electrical and product-specific requirement, test failure states, and expand slowly. When the lighting makes furniture, faces, tasks, and architecture easier to see—but the controls nearly disappear—the room is doing the smart work without looking busy.

Madison Rowe
Madison Rowe is a Disco Lift staff byline covering everyday technology, digital organization, privacy, and connected devices. Articles published under this pen name are reviewed under Disco Lift’s editorial standards.