

To improve video call quality, diagnose the weakest part of the setup before buying anything. Start with a short audio recording, because unclear speech disrupts a conversation even when the picture looks polished. Then adjust the room, light, camera position, network, and meeting app in that order. Make one change at a time and repeat the same test so you know what helped.
No arrangement can promise a perfect call on every computer. Other participants’ connections, service congestion, device limits, platform processing, and changing room conditions all affect the result. The practical goal is understandable speech, a comfortable image, dependable controls, and a fallback when video or a feature does not cooperate.
Begin with what people hear
Use the computer’s voice recorder or a private meeting test to capture about half a minute of normal speech. Sit where you will actually call, use your normal volume, and include a few seconds of silence. Listen through headphones. If words sound distant, hollow, clipped, distorted, or buried under a fan, you now have a specific symptom rather than a vague impression.
Move closer to the microphone first. A laptop microphone usually picks up more room sound as you move away, while a headset microphone stays at a more consistent distance. Keep the microphone opening unobstructed and avoid typing directly beside it. Shut a noisy door, silence a fan when practical, move away from a humming appliance, and add ordinary soft furnishings if a bare room creates obvious echo. Curtains, a rug, and a fabric chair may reduce reflections without turning the room into a studio.
Select the intended input and output rather than assuming the app chose correctly. Microsoft’s current Teams call-settings guidance explains how to choose a microphone, speaker, and camera and, where the desktop feature is available, make a test call. Platform menus and test features can change, so use the current help page for your app instead of memorizing an old path.
Test built-in noise reduction both on and off when it is adjustable. Processing may tame steady noise, but it can also make quiet voices, music, or rapid speech sound uneven. Do not stack several “enhancement” layers in the operating system, headset utility, and meeting app at once. Disable or change one layer, make the same recording, and keep the setting only if playback is easier to understand.
When headphones help
Headphones can stop the speakers from feeding call audio back into the microphone, and they offer privacy in a shared room. They do not fix a poor microphone position or an overloaded wireless connection. If a wireless headset becomes choppy, compare it with the laptop microphone and wired headphones. That single swap helps distinguish a headset or radio issue from a platform-wide audio problem.
Fix the light before replacing the camera
A modest built-in camera can produce a more usable image when your face is brighter than the background. Face a window or place a diffused lamp behind the computer and slightly above eye level. Avoid a bare, harsh bulb aimed directly at your eyes. If a bright window is behind you, rotate the desk or close the shade; otherwise the camera may darken your face to preserve the background.
Change only the light and compare the preview. Automatic exposure and color can take a moment to settle. Mixed daylight and strongly colored lamps may produce an odd skin tone, so try one dominant, neutral-looking source. More light is not always better: glare on glasses, shiny skin, squinting, and clipped highlights are signs to soften, move, or dim the source.
Next, raise the computer or camera so the lens is near eye level, using a stable stand that does not block ventilation. Put the preview window near the lens if seeing yourself helps you maintain a natural gaze. Frame your head and shoulders with a little space above your head, and clean the lens gently according to the device maker’s instructions. Digital zoom usually discards detail, so improve physical placement before cropping heavily.
Match each symptom to a small test
| Symptom | Likely layer | Lowest-friction first change | How to check |
|---|---|---|---|
| Voice sounds distant or echoey | Room and microphone distance | Move closer and reduce nearby hard reflections | Repeat the same local recording |
| Voice cuts out during quiet words | Noise processing or input level | Compare one enhancement setting on and off | Play back an identical phrase |
| Face is dark | Lighting and exposure | Move the brightest light in front of you | Wait for the preview to settle |
| Image looks soft | Lens, light, focus, or connection | Clean the lens and improve front light | Compare a local camera preview before blaming the network |
| Audio and video freeze together | Network or overloaded computer | Pause large transfers and close one heavy task | Run another private call from the same location |
| Camera is absent from the app | Selection, permission, or another open app | Confirm the selected camera and operating-system access | Test in the operating-system camera app |
| Only one meeting service fails | Browser, app, or platform settings | Update or restart that app, then retest | Compare with a local recording or another authorized service |
Separate camera, computer, network, and platform issues
A local camera preview does not use the meeting network in the same way as a live call. If the local preview is stable but remote participants see freezes, examine the network and platform next. If the preview itself stutters, close unnecessary high-load programs, disconnect an unneeded camera, restart the app, and check for supported updates. Rebooting is useful when it creates a clean baseline, but it is not a diagnosis by itself.
For the network, move closer to the router or test a documented wired connection if your computer and adapter support one. Pause cloud backups, large downloads, game updates, and high-resolution streaming elsewhere in the household for one comparison call. If that changes nothing, restore the normal activity rather than leaving services disabled indefinitely. Do not assume new networking hardware is the answer; the diagnosis in our Wi-Fi extender versus mesh guide can help separate coverage from service or equipment problems.
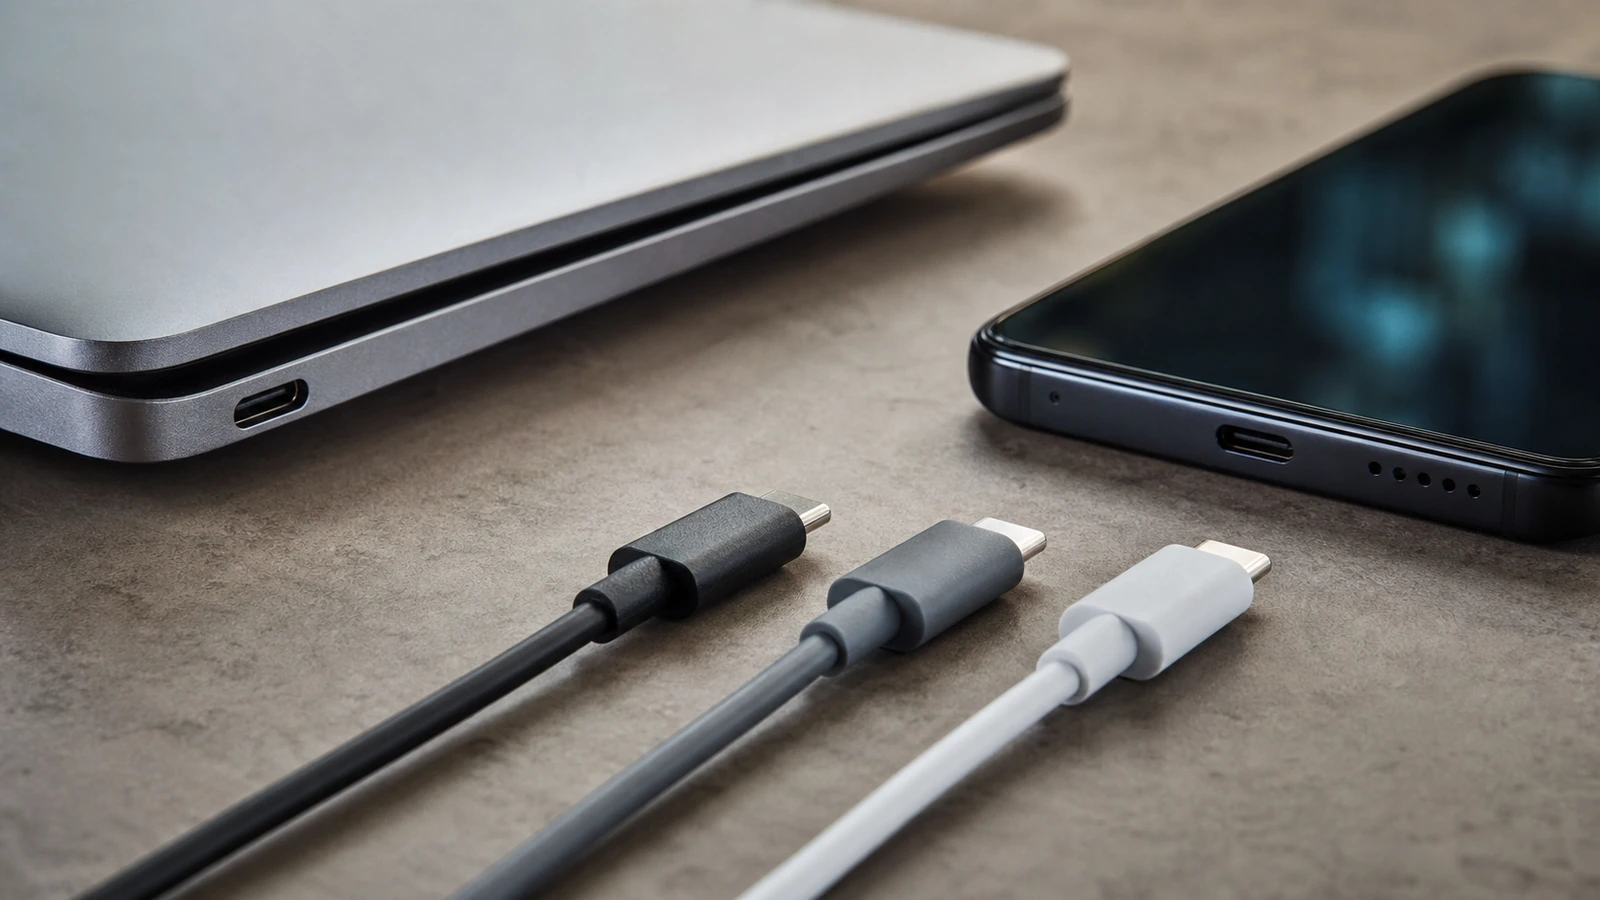
When a dock or adapter carries a camera, Ethernet connection, display, and power, verify that every connection is supported. Identical USB-C connectors can expose different functions, and a marginal cable can complicate troubleshooting. Our USB-C compatibility guide explains how to check the entire connection path. For diagnosis, connect a camera directly when practical, then add the dock back only after the simpler path works.
Finally, test the meeting platform. Confirm the correct microphone, speaker, and camera in its settings. Compare the desktop app with a supported browser only if the service officially offers both. Check the service-status page when many people report trouble. Avoid changing camera resolution, background effects, noise processing, browser permissions, and router settings simultaneously; a pile of changes can hide both the cause and the remedy.
Build privacy, background, and accessibility into setup
Camera and microphone access must be both intentional and functional. Windows provides current camera permission controls, while Apple documents how to control microphone access on a Mac. Review the instructions for your operating-system version, allow only the apps you intend to use, and retest after changing access. Remember that browser permission, operating-system permission, hardware mute, and app selection are separate layers.
Inspect what the camera reveals before joining. Remove documents, badges, family schedules, reflective screens, and sensitive objects from view. A plain physical background is often more predictable than a virtual one. Blur and replacement effects can expose edges, fail during movement, increase computer load, or behave differently after an update. If you use an effect, preview it with normal gestures and keep a real-world background you can accept if the effect drops.
Accessibility belongs in the pre-call check. Learn where captions, chat, keyboard shortcuts, hand-raise controls, speaker view, and pinning or spotlighting are located in the chosen platform. Automatic captions can help but may mishear names, accents, technical terms, or poor audio, so do not treat them as a flawless transcript. Share key names and links in chat, describe important visual material aloud, avoid relying on color alone, and ask participants what format works for them.
A repeatable pre-call routine
- Open a local recorder and confirm that your voice is clear enough to understand.
- Check the camera preview, front light, framing, lens, and visible background.
- Connect power and any adapter you have already tested; keep a charger within reach.
- Pause only known heavy transfers, then confirm the selected app devices.
- Join early enough to test captions, screen sharing, and the mute control without rushing.
- Keep the meeting phone number, chat, or an audio-only route available when the organizer provides one.
For a high-stakes interview, appointment, class, or presentation, make a short practice call with a willing person on the same platform. Ask whether speech is intelligible and whether screen-shared text is readable, not whether you look “professional.” The useful benchmark is whether participants can follow the conversation and material without unnecessary strain.
Common failure modes
Buying a camera first may preserve the same dark room, echo, weak connection, and wrong input. Placing a microphone far away for a cleaner desk usually makes room sound more prominent. Turning every enhancement to its maximum can create pumping audio and artificial edges. A virtual background can hide clutter but also increase load and reveal material when it fails. A successful speed test does not prove that a particular meeting path will remain stable.
The more reliable pattern is controlled comparison: reproduce the symptom, change one variable, repeat the test, and keep brief notes. If a camera, cable, battery, or power adapter becomes unusually hot, smells odd, shows damage, or disconnects when touched, stop using it and consult the manufacturer or a qualified repair route rather than continuing a call test.
Frequently asked questions
Do I need an external webcam?
Not necessarily. First improve front lighting, camera height, lens cleanliness, framing, and computer load. Consider an external camera only when the built-in camera still cannot meet a defined need and your port, operating system, platform, mounting position, and privacy requirements support the model.
Is a headset always better than a laptop microphone?
No. A headset can keep microphone distance consistent and reduce speaker feedback, but fit, wireless interference, processing, and microphone quality vary. Record the same phrase with both options in the actual room and choose the more intelligible result.
Should I use a virtual background?
Use one only after previewing normal movement and checking computer load. It is a convenience, not a privacy barrier. Prepare the physical scene so an effect failure does not expose anything you would not show.
Why does the preview look good while the call freezes?
The preview mainly tests the local camera path. A live call adds encoding, computer load, Wi-Fi or Ethernet, internet service, the platform, and other participants. Pause one heavy task or test one connection change at a time to isolate the layer.
What is the fastest useful check before joining?
Record and play back your voice, look at the camera preview, verify the selected devices, inspect the background, and locate mute and captions. If time permits, join a private test or lobby early and keep an audio fallback.
The takeaway
Better video calls usually begin with placement and diagnosis, not a shopping list. Make speech understandable, bring soft light in front of you, position the existing camera well, and isolate computer, network, and platform problems with one change at a time. Add privacy, accessibility, and a fallback to the same routine. The result may still vary, but you will know which parts of the setup you can control and how to respond when one fails.

Madison Rowe
Madison Rowe is a Disco Lift staff byline covering everyday technology, digital organization, privacy, and connected devices. Articles published under this pen name are reviewed under Disco Lift’s editorial standards.