

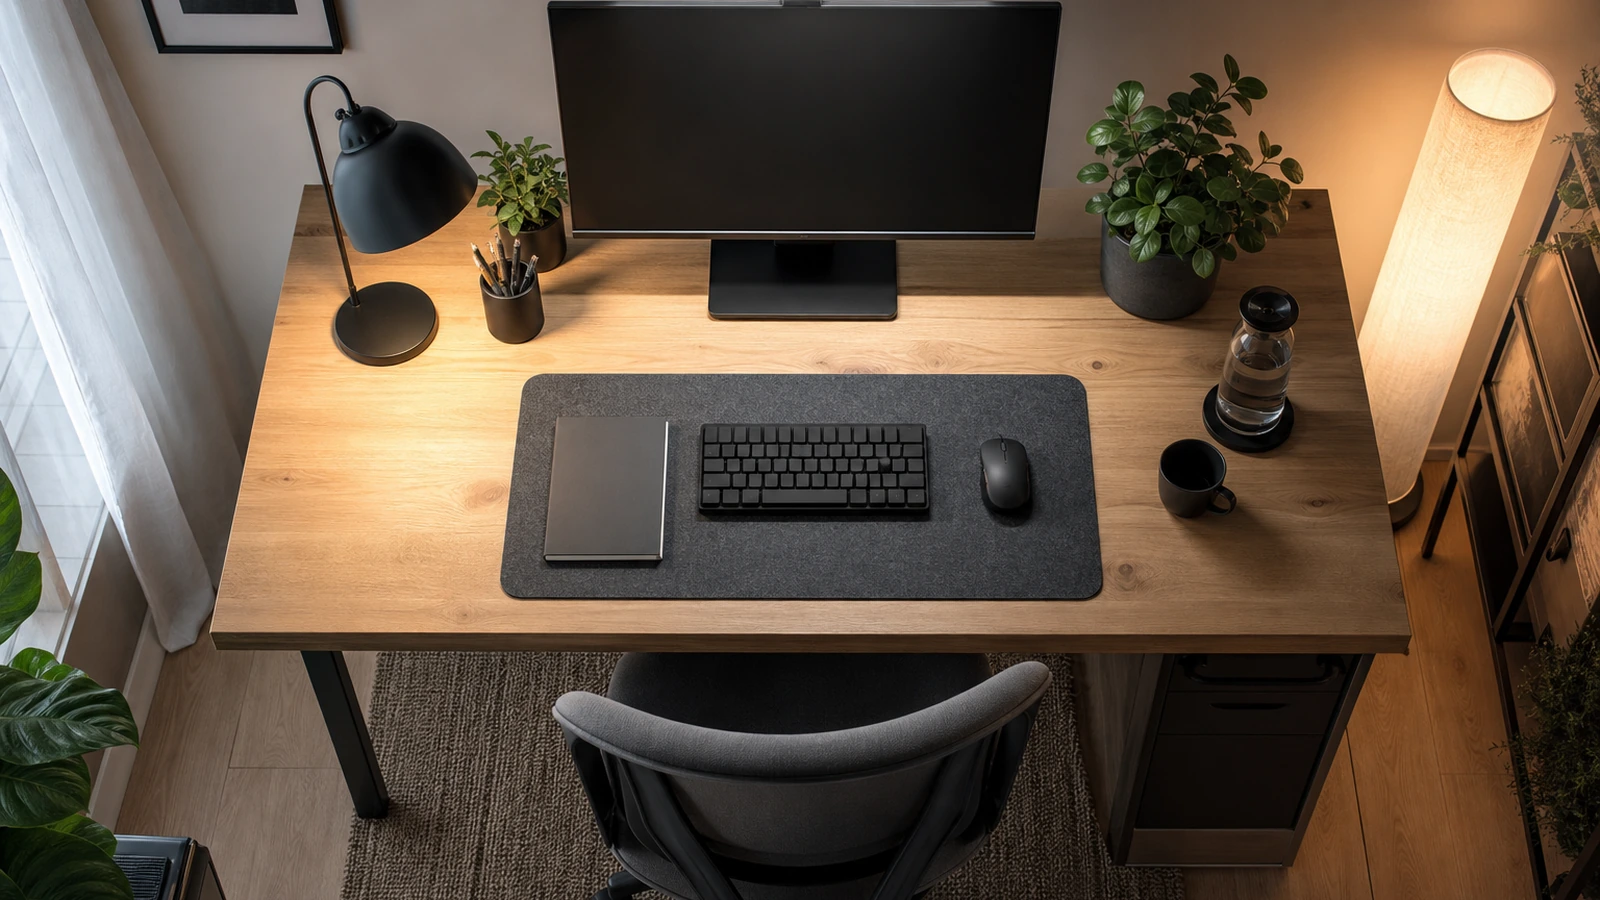
A better home office lighting layout uses several modest light sources for different jobs instead of asking one bright ceiling fixture to handle the whole room. Begin with controllable daylight, add soft ambient light for general comfort, place focused task light beside the work, and reserve a diffused front light for video calls. The result should make the desk easy to use, keep the screen comfortable to view, and let your face appear clear without turning the office into a studio.
Good lighting is less about buying the brightest lamp than controlling direction, contrast, glare, and change over the day. Map the room before shopping: note the window, desk orientation, screen position, reflective surfaces, wall color, outlets, and where your eyes naturally look. Then solve the biggest problem first and test the layout during the hours when you actually work.
Draw the room as light zones
Make a simple top-down sketch of the office. Mark the window, door, desk, chair, monitor, shelves, wall art, and existing fixtures. Add the locations of outlets and switches so the plan does not depend on a cable stretched across a walkway. You do not need precise drafting. The point is to see where light begins, where it travels, and what may block or reflect it.
Divide the plan into four zones. The daylight zone is the area influenced by the window. The work zone includes the keyboard, notebook, documents, tools, and anything your hands need to see. The background zone is what a camera sees behind you. The transition zone is the surrounding room that keeps the desk from feeling like a bright island in a dark box. Each zone can share fixtures, but naming them prevents one lamp from becoming an awkward compromise.
Place the desk relative to the window
Side light is usually the easiest starting position. With the window to your left or right, daylight can reach the desk and face without sitting directly behind the monitor or directly behind your head. A window behind the screen may create a bright field around the display and encourage squinting. A window behind you can make your face appear dark on camera while the outdoors dominates the exposure.
Room shape, view, privacy, and furniture may prevent the ideal orientation. If so, manage the window rather than fighting it. A shade or curtain can soften sharp sun and reduce rapid brightness changes. Move the monitor a few inches, change its angle, and watch reflections on both a dark screen and an ordinary document. Test from the seated position; glare that seems harmless while standing can be distracting at eye level.
Daylight changes by weather and season, so it should be treated as a variable layer rather than the only layer. Keep an electric-light arrangement that still works on a cloudy morning or after sunset. A stable baseline also helps the camera produce a more consistent result from one call to the next.
Build the electric lighting in layers
Ambient light: make the room legible
Ambient light should let you enter, move around, and look away from the screen without encountering harsh darkness. It can come from a shaded floor lamp, a ceiling fixture with good diffusion, a wall-directed lamp, or more than one low-output source. Light bouncing from a pale wall or ceiling often feels softer than a visible bare bulb, though dark paint absorbs more and glossy paint may reveal reflections.
Place ambient sources outside the central screen view when possible. A very bright fixture directly overhead can create facial shadows and hot spots on the desk. Turning it off may make the rest of the room too dim. The better fix is often to reduce its dominance and add softer light from another direction.
Task light: put illumination where the work happens
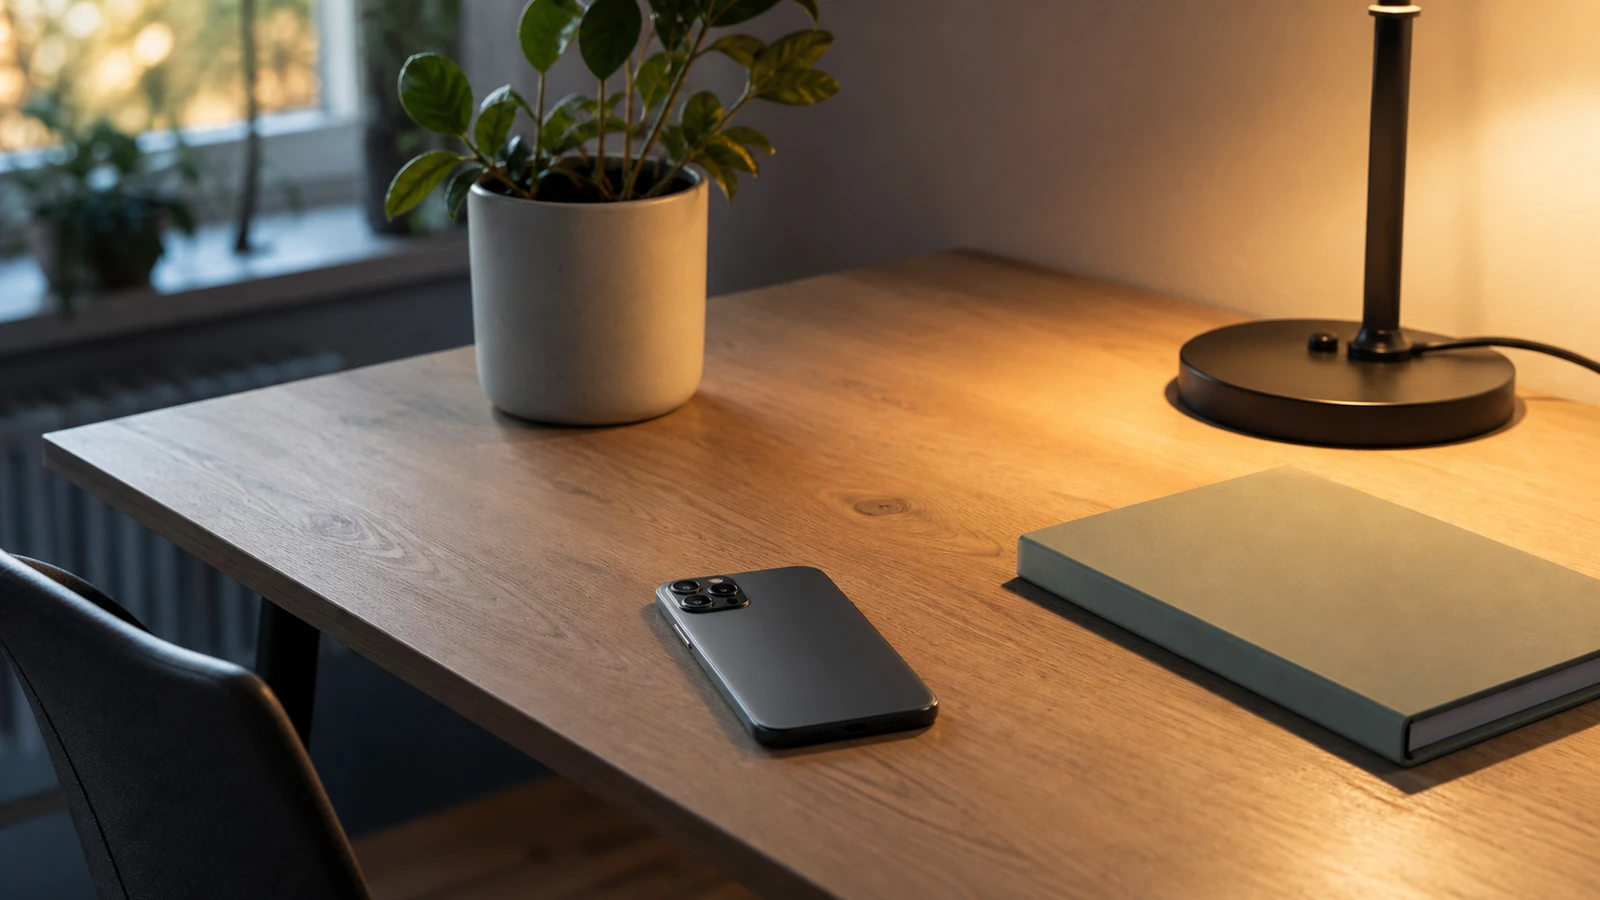
A task lamp belongs beside the activity, not automatically in the middle of the desk. Right-handed writers often prefer it on the left to reduce hand shadows; left-handed writers may reverse that arrangement. The shade should hide the bright source from your eyes while directing light across paper, a drawing tablet, small components, or a keyboard when needed.
An adjustable arm is useful because a task changes through the day. Keep the lamp from reflecting in the monitor or casting a sharp hotspot on a glossy desk. If your work is almost entirely screen-based, the task lamp can be modest and aimed at notes rather than at the display. The screen produces its own light; shining a lamp onto it rarely helps.
Video-call light: illuminate the face separately
For calls, place a broad, diffused light near the camera and slightly to one side, above eye level but not steeply overhead. A shaded lamp, a light bounced from a wall, or a purpose-built diffused fixture can work. Distance and apparent size matter: a larger soft source near the face generally produces gentler transitions than a tiny intense point.
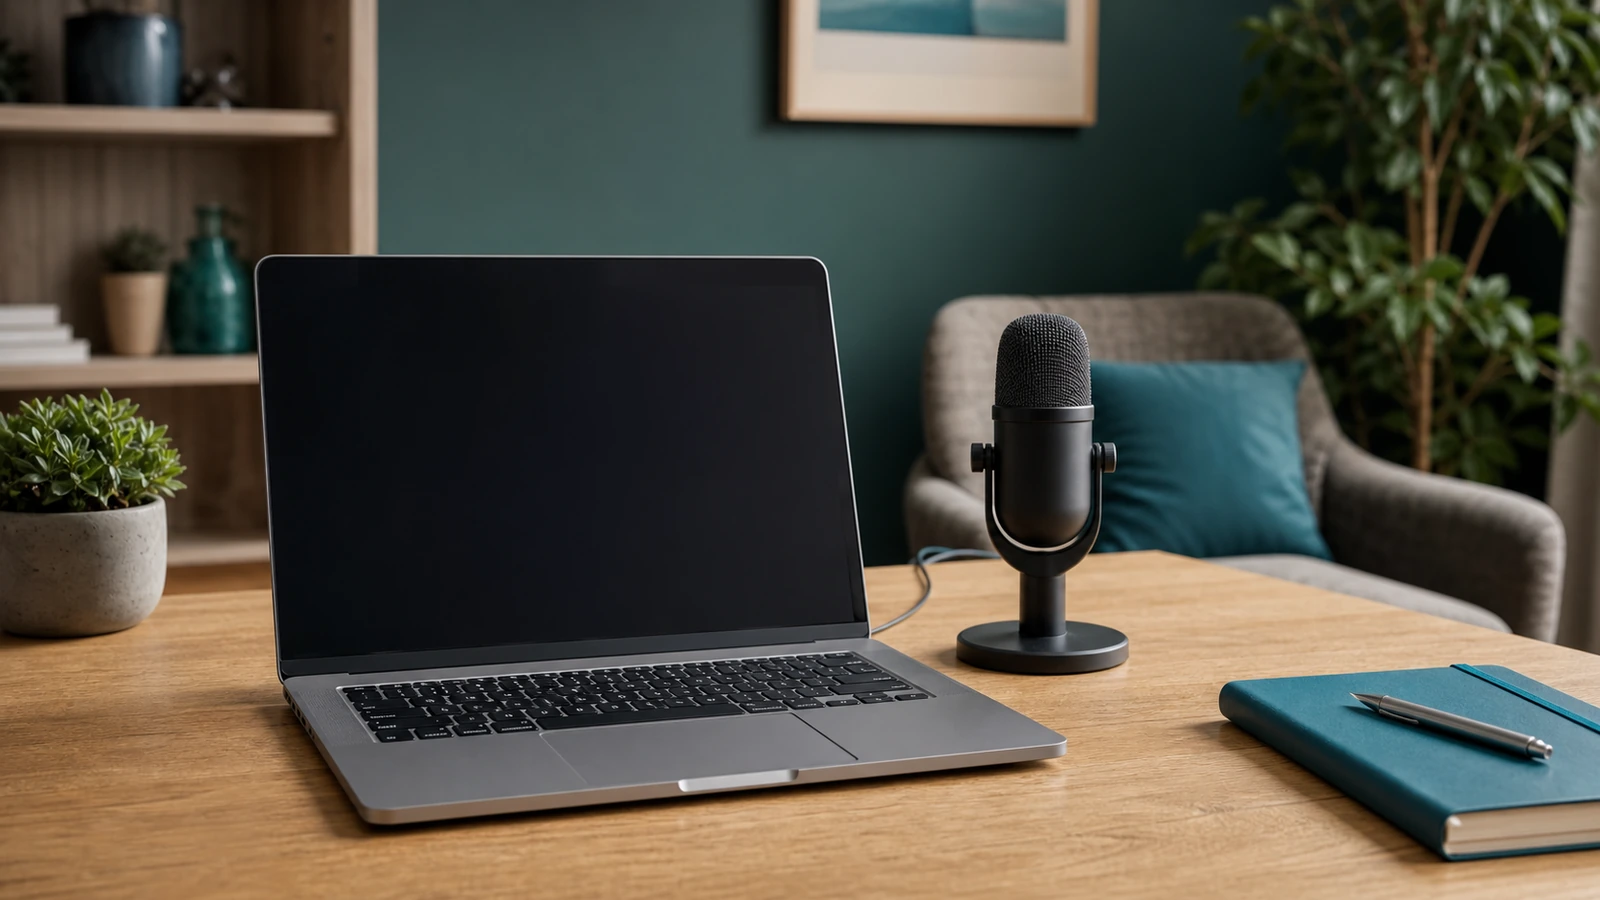
Avoid making the call light the brightest object visible in your eyes. It should be comfortable enough for a full meeting, not merely flattering for a short preview. If you want a broader call setup that also addresses microphone distance, camera height, software, and network checks, use Disco Lift’s guide to making video calls look and sound better.
Use the screen as a diagnostic tool
Open a neutral page, then a dark page, and inspect the monitor from your normal chair. Reflections become easier to see on dark content. Check whether a lamp, window, or bright wall patch appears on the screen. Rotate or tilt the display before moving furniture; a small angle change can remove a reflection without weakening the room lighting.
Do not use monitor brightness as the only response to a poorly lit room. Continually turning the display up to compete with a bright window can make evening work uncomfortable, while lowering it dramatically in a dark room leaves the surrounding contrast unresolved. Adjust the room and display together until looking from the screen to the desk or wall feels ordinary rather than abrupt.
| Layer | Main job | Useful placement | Sign it needs adjustment |
|---|---|---|---|
| Daylight control | Use natural light without uncontrolled glare | Window beside the desk, with an adjustable shade | Screen reflections or large brightness swings |
| Ambient | Keep the room comfortable and navigable | Shaded or wall-directed source outside the main view | Bright desk surrounded by a dark room |
| Task | Light paper, hands, or detailed work | Beside the task, opposite the writing hand when practical | Hand shadows, visible bulb, or reflected hotspot |
| Video call | Make the face clear and balanced | Near camera level, diffused, slightly off center | Dark eyes, harsh shine, or a bright window behind you |
| Background | Create separation without visual noise | Low-output light on a wall, shelf, or plant | Distracting bright spots or a showroom-like set |
Plan controls around real work
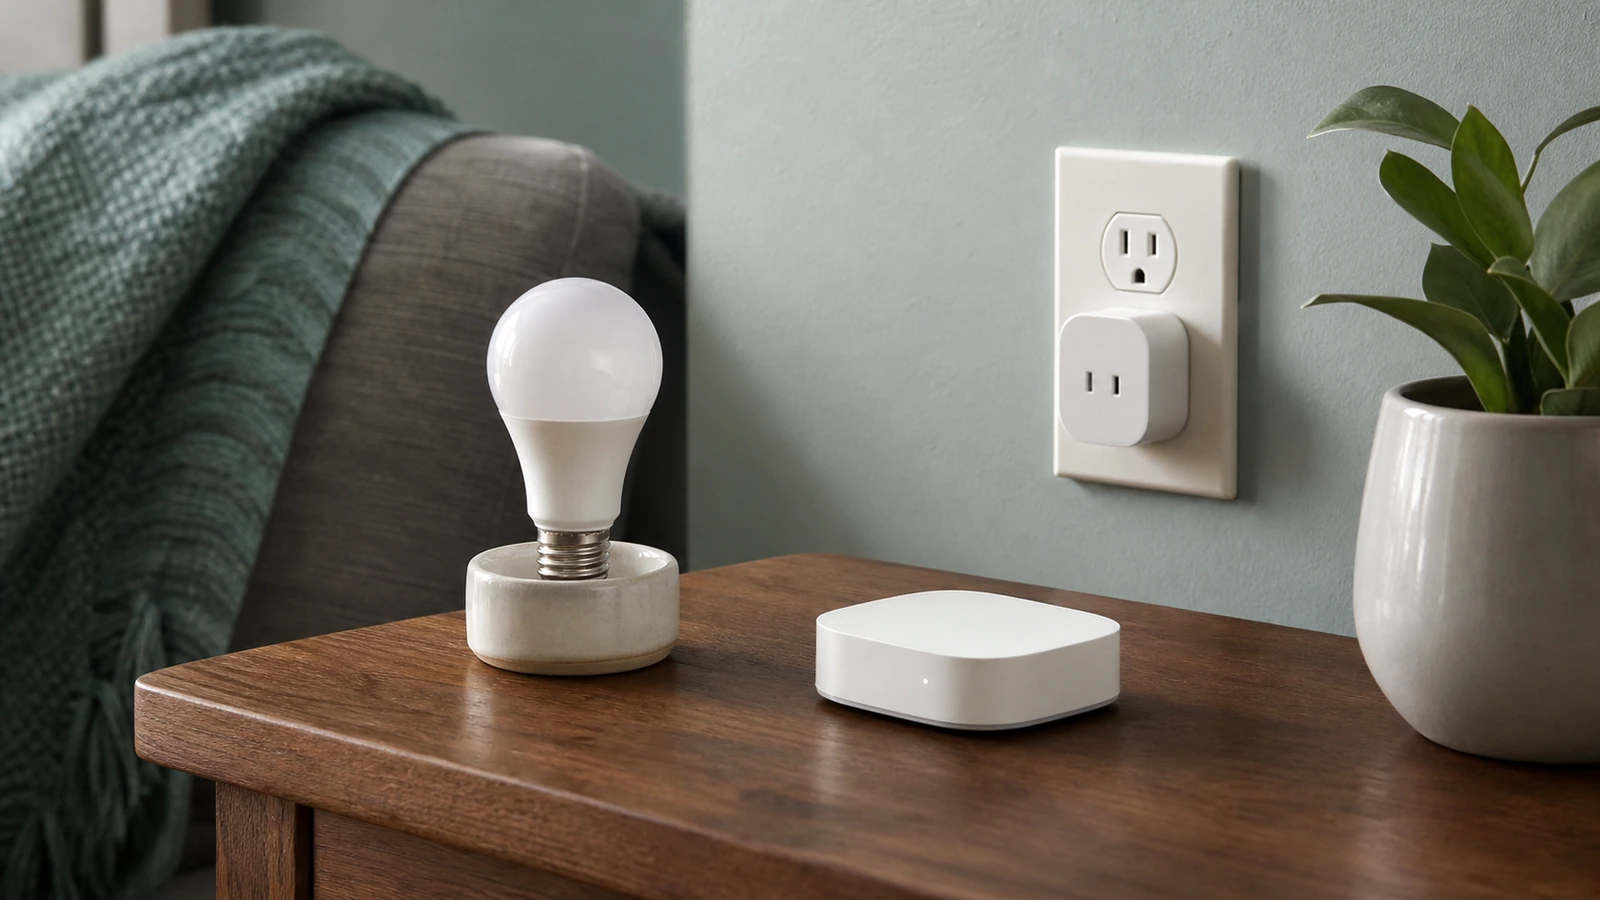
A layout is only useful if it is easy to operate. Put the task and call lights within reach. Group switches logically, and avoid an arrangement that requires opening several apps before work can begin. If you add connected bulbs or plugs, keep a manual fallback and confirm that the fixture and connected load are suitable. The smart plugs, bulbs, and hubs starter guide explains why compatibility and ordinary control matter more than filling the room with automation.
Simple presets can reduce friction: one for daylight work, one for overcast or evening work, and one for calls. They do not have to be automated. A dimmer position, two labeled physical switches outside the camera frame, or a repeatable lamp arrangement may be enough. Keep changes gradual when other people use the room, and avoid placing controls where they will be switched accidentally.
Protect visual focus without making the room sterile
Lighting should support attention, but it cannot create focus by itself. Keep the brightest area near the current task and remove intense points from peripheral vision. A softly lit wall behind the monitor can reduce the feeling of staring into a floating rectangle, while a bright decorative lamp at the edge of your vision may pull attention repeatedly.
The background visible on calls can have depth without becoming a staged display. One calm pool of light on a shelf or wall is usually easier to live with than many colored accents. Leave some surfaces unlit. If alerts rather than the room are interrupting concentration, pair the physical layout with a deliberate plan to reduce notification overload while preserving important messages.
Common layout failures and practical fixes
One powerful overhead fixture
A single bright ceiling light often produces glare, hard shadows, and an otherwise flat room. Reduce it if possible, then add a shaded ambient source and a task lamp. The goal is not simply more light; it is better control over where light lands.
A decorative lamp directly behind the monitor
A visible lamp in the same sightline as the screen can become tiring even when it looks attractive in a photograph. Move it farther to the side, shield the source, lower its output, or bounce it from a wall.
A ring-shaped reflection in glasses
Move the call light higher and farther off axis, enlarge or diffuse the source, or change the glasses and camera angle slightly. Check comfort and facial clarity after every move rather than chasing a reflection at the expense of dark eyes.
Cables crossing the floor
Do not accept a trip hazard to achieve a perfect lamp position. Choose a nearer outlet, move the fixture, route the cable along a stable edge with an appropriate removable solution, or have a qualified professional address permanent electrical needs. Keep cords out of chair wheels and away from pinching, heat, and overloaded connections.
A five-scene test before you stop
Photograph the room from the chair and preview the camera in five conditions: normal morning work, the brightest part of the day, overcast or shaded daylight, evening focus work, and a video call. Write down one problem per scene. Correct only the repeated or disruptive issues first. This prevents a layout optimized for one attractive evening view from failing during the workday.
Live with the arrangement for several days. Notice whether you leave a lamp off because its switch is inconvenient, whether a shade must be adjusted constantly, or whether the task lamp collides with the monitor. Those behaviors are design evidence. Move the light before buying another one.
FAQ
Should a home office use warm or cool light?
Choose a light appearance that feels comfortable with the room finishes and supports the task, then keep nearby sources reasonably coordinated. Mixing noticeably different appearances can look distracting on camera. Direction, diffusion, glare control, and output are usually more important than chasing one universal color choice.
Does the desk have to face the window?
No. A side-facing window is often easier to control, but the best position also depends on glare, privacy, room circulation, and the view behind you. Test the monitor and camera from the chair before committing.
Is a dedicated video light necessary?
Not always. A shaded lamp near the camera or light bounced from a pale wall may be sufficient. A dedicated fixture is useful when existing lamps cannot be positioned comfortably or repeatably.
How many lamps does a small office need?
There is no universal count. Think in functions: ambient, task, and call lighting may come from two fixtures in one room and four in another. Add a source only when it solves a named problem.
Takeaway: solve direction before brightness
Start with the desk and window relationship, then build a soft ambient baseline, a controlled task light, and a comfortable call light. Remove visible glare, preserve easy controls, and test the room in several real conditions. A successful home office lighting layout feels adaptable and quiet: it helps you see the work and each other without demanding attention of its own.

Madison Rowe
Madison Rowe is a Disco Lift staff byline covering everyday technology, digital organization, privacy, and connected devices. Articles published under this pen name are reviewed under Disco Lift’s editorial standards.