

Hiding cables well is not the same as making them impossible to reach. A safe, durable setup keeps power and signal paths supported, gives heat-producing equipment room to operate, preserves access to plugs and reset buttons, and avoids blocking speakers, microphones, antennas, or ventilation. The best result looks quiet from normal viewing positions but remains understandable when something must be charged, replaced, or restarted.
Start by identifying every device and cable before buying sleeves, boxes, or adhesive clips. Manufacturer instructions, electrical ratings, cable bend limits, ventilation clearances, building rules, and local codes vary. Follow the documentation for the exact equipment. Ask a qualified electrician or appropriate installer to handle fixed wiring, in-wall routes, unfamiliar electrical conditions, damaged components, or any plan whose compliance is uncertain.
Inventory the system from the outlet outward
Unplug only when it is safe and appropriate, then trace one connection at a time. Record the wall outlet, surge or power device if used, power adapter, cable, device port, and destination. Note equipment that must remain continuously powered, equipment that is unplugged often, and anything that runs warm. Photograph both ends before changing the route. A quick sketch is more valuable than a box full of organizers.
Separate the inventory into five jobs: mains power, low-voltage device power, charging, data or networking, and audio or video signal. A single cord may not reveal its purpose by appearance. Do not guess based on connector shape alone. Read the device and cable markings where available, consult current manuals, and keep a small temporary tag on each end while working.
This is also the time to remove dead equipment, duplicate chargers, abandoned cables, and adapters for devices no longer present. Confirm ownership before discarding anything. If a cable’s condition, identity, or electrical suitability is uncertain, take it out of service until it can be identified or replaced correctly.
| Area | Good objective | Keep accessible | Performance check |
|---|---|---|---|
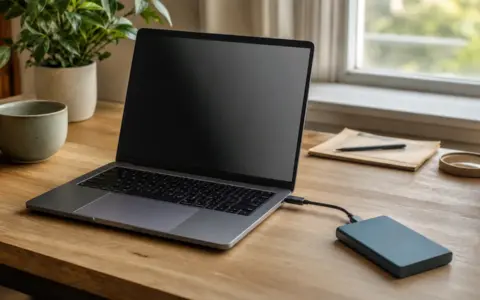
| Desk | One supported route along the rear or underside | Laptop power, dock controls, frequently used charging leads | Full chair and sit-stand movement without tension |
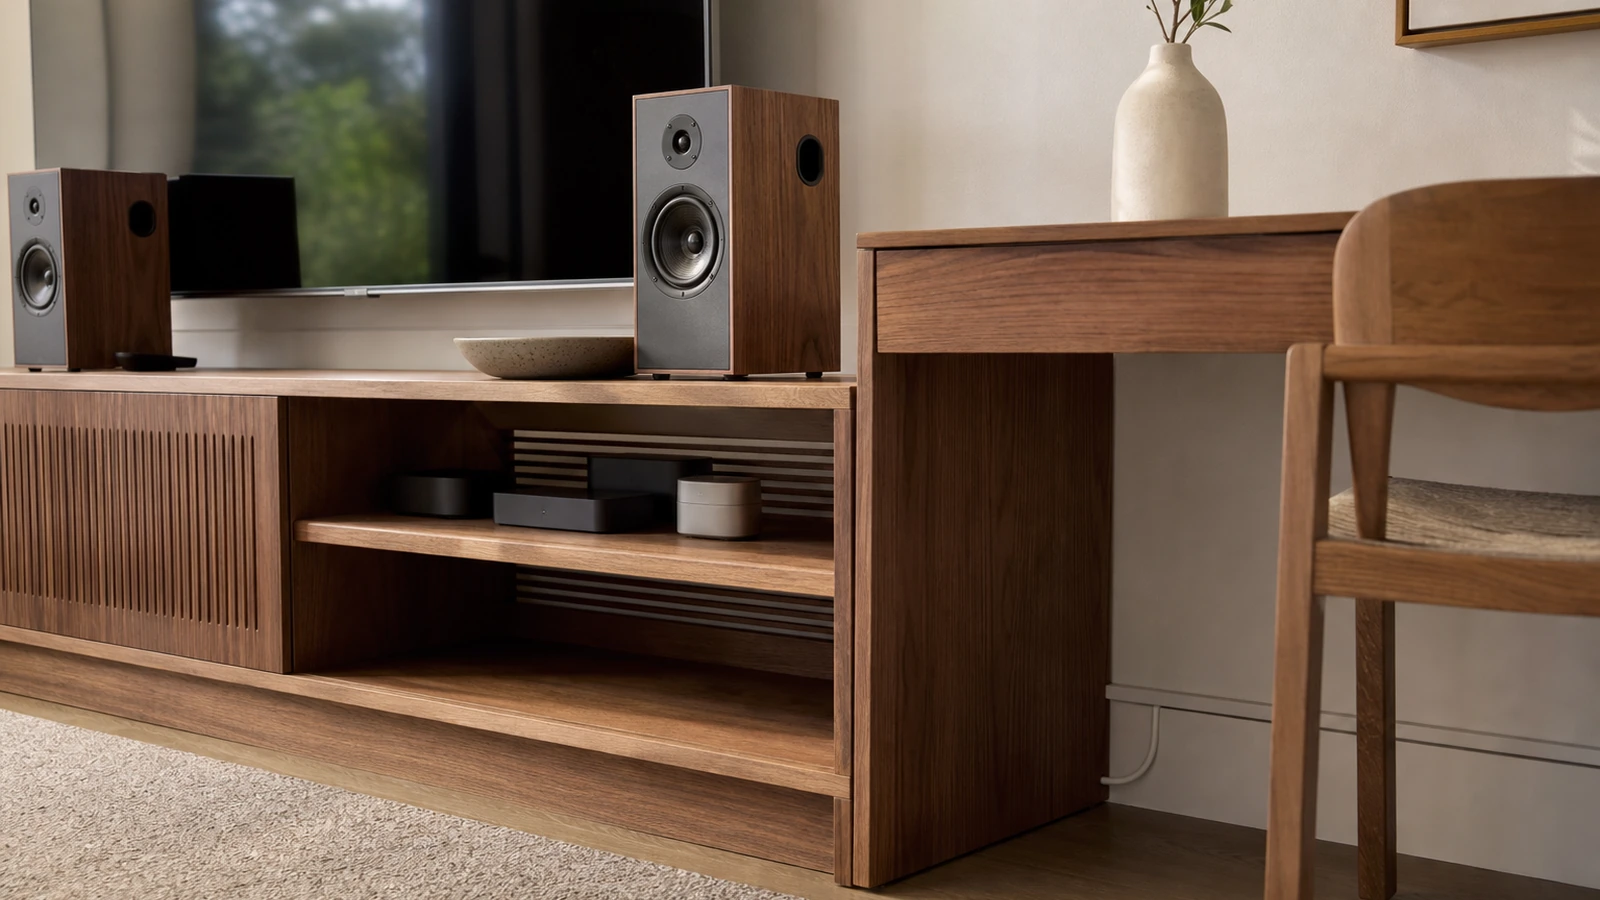
| Media console | Separate, identifiable paths with controlled slack | Outlet, power controls, device ports, reset access | Normal temperature, stable picture, audio, network, and remote response |
| Charging station | Only the connectors the household currently needs | Adapter ventilation and replaceable cable ends | Expected charging behavior with all intended devices connected |
| Speaker area | Route cable along furniture or approved surface channels | Terminals, controls, vents, drivers, ports, microphones | Balanced sound from listening positions and reliable wireless control |
| Floor crossing | Reroute around the perimeter or use an appropriate rated protector | Inspection points at both ends | No trip edge, crushing, pinching, or unstable cover |
Remove length and duplication before concealing
Organizers cannot fix an unnecessarily complex setup. Move a charging adapter closer to the devices it serves when that can be done safely. Replace an excessively long detachable signal cable with an appropriate shorter one if the equipment permits it. Consolidate only with products specifically suitable for the devices and total load; connector fit does not prove electrical compatibility.
Avoid creating tight coils simply to hide excess length. Different cables have different construction, heat, signal, and bend considerations. Use broad, relaxed loops within the cable maker’s limits and secure them lightly enough that insulation is not crushed. Leave service slack near a movable monitor, adjustable desk, pull-out cabinet, or speaker that must be repositioned.
Do not bundle every cable together by default. Power, analog audio, video, networking, and charging can have different routing needs, and interference behavior depends on the equipment and cable design. If a system develops hum, dropouts, visible artifacts, unreliable data, or charging problems after organization, undo the bundle and test each path separately.
Create a serviceable power zone
Place power strips, adapters, and charging equipment only where their manufacturer allows. Keep ventilation openings clear and do not bury heat-producing equipment under rugs, cushions, paper, fabric, or a dense pile of cable. Do not enclose products in decorative boxes unless those products and that use are explicitly suitable. A visually clean box is not useful if it traps heat, bends plugs, hides damage, or makes the disconnect point unreachable.
Mounting a power strip to furniture is model-specific. Some products provide approved mounting features; others do not. Never drill into electrical equipment or alter it. Use the provided method and hardware, respect orientation and clearances, and make sure plugs are fully seated without side loading. If a plug is loose, hot, discolored, buzzing, sparking, or damaged, stop using the setup and obtain qualified help rather than concealing it.
Extension cords and relocatable power products are not substitutes for permanent wiring. Do not route ordinary cords through walls, ceilings, doorways, windows, or other locations prohibited by their instructions or local rules. If furniture placement makes safe power impossible, have a qualified electrician assess a suitable permanent solution.
Use furniture edges before adding visible channels
The rear edge of a desk, the inside face of a table leg, and the back rail of a console can provide a short, logical route. Choose supports compatible with the furniture finish, cable weight, surface temperature, and expected movement. Clean and prepare surfaces according to the organizer maker’s directions. Adhesive clips may fail on dusty, textured, damp, hot, or delicate finishes, so test an inconspicuous area and provide secondary support where a falling cable could pull equipment.
Route the main bundle along one line rather than making several wandering paths. At each device, branch off with enough slack to connect without tension. Use reusable hook-and-loop ties or another cable-appropriate method instead of overtightening narrow fasteners. Keep sharp furniture edges from pressing into insulation. Add an edge guard or change the route when a cable would rub during normal movement.
For a sit-stand desk, test the full travel before securing the final route. Watch the power feed, monitor leads, dock connection, headphone cable, and any floor connection while the desk moves. Nothing should become taut, enter the mechanism, drag equipment, or form a loop around feet. Repeat the test with the chair in common positions.
Make a charging station that can change
A practical charging area has a stable surface, appropriate adapters, a place for each connected device, and enough room around equipment to meet its operating instructions. It does not need a permanent cable for every connector ever made. Keep the everyday leads and store occasional cables separately, identified by device or capability.
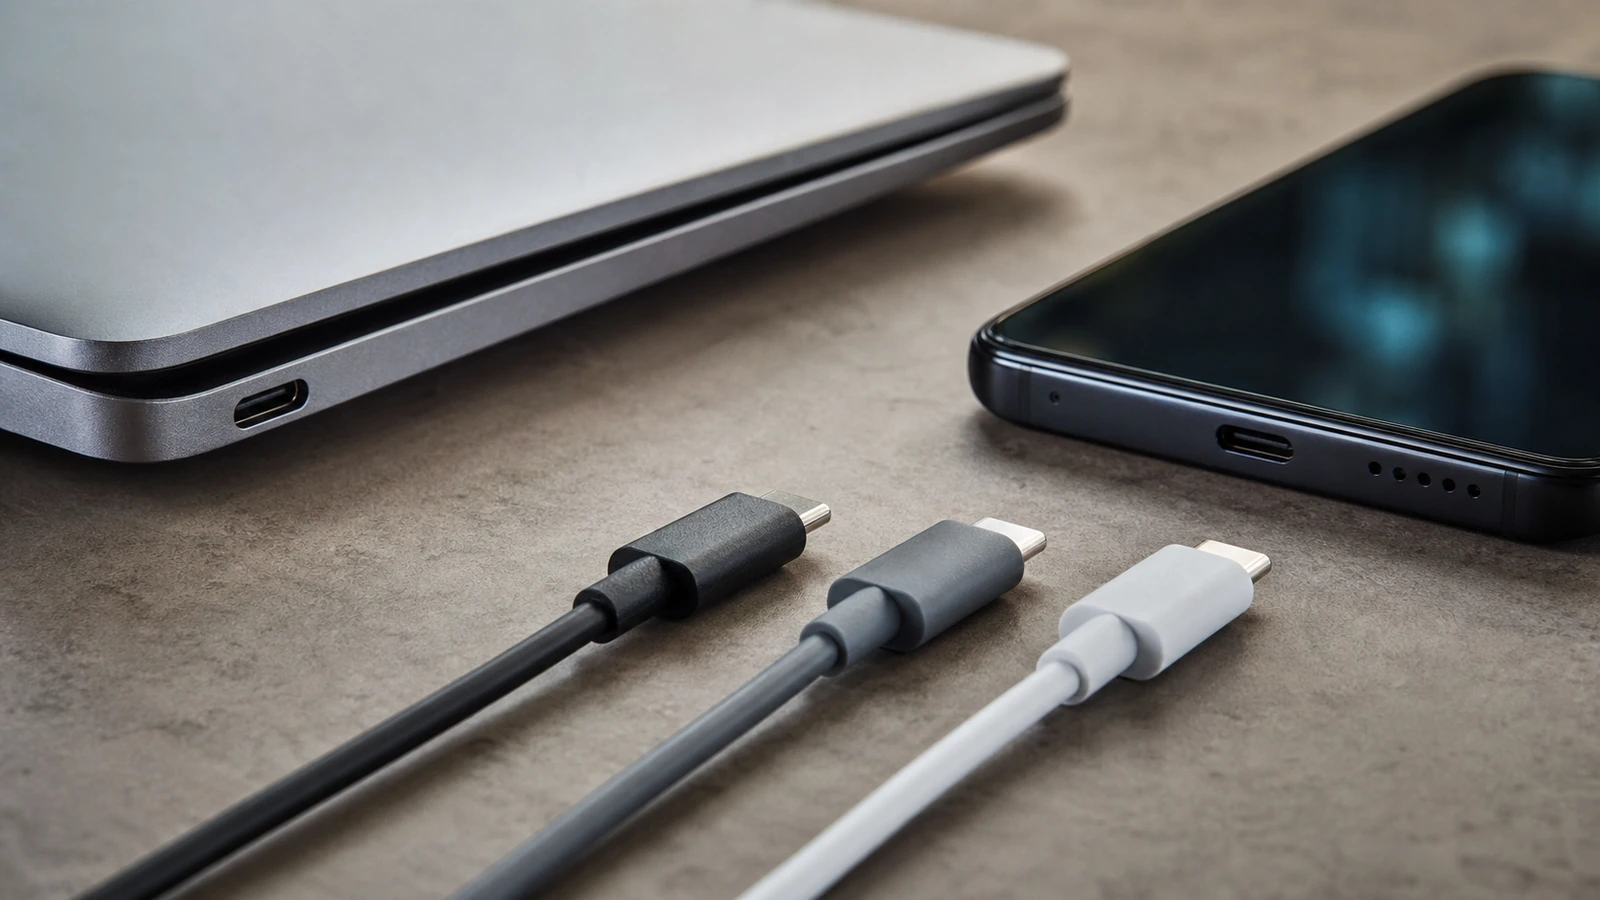
USB-C can carry different combinations of power, data, and video even when plugs look alike. Charger, cable, and device negotiate within their supported capabilities, and a poorly chosen cable may charge slowly or fail at another task. Review the guide to USB-C ports, cables, and charging compatibility before reducing several adapters to one.
Anchor the device end so it does not fall behind furniture, but allow the connector to align naturally with the port. Do not make the plugged-in connector support the phone or tablet’s weight. Inspect high-use cable ends regularly. Replace damaged or unreliable components with suitable products rather than wrapping a cosmetic sleeve around a failing section.
Organize a media console in removable layers
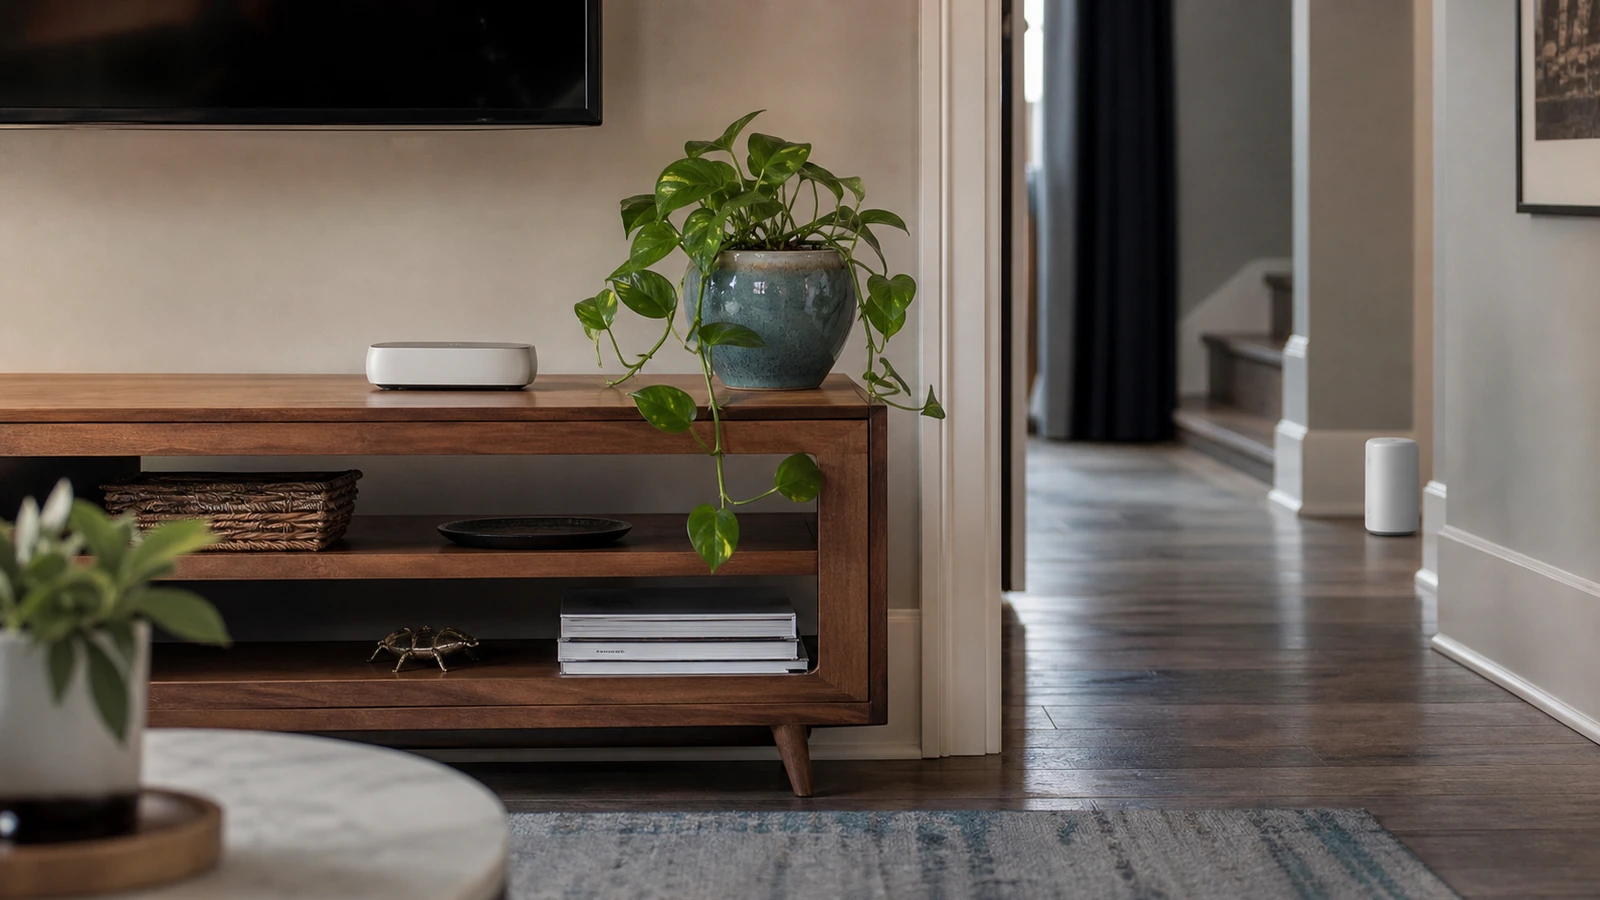
First decide which devices need line of sight, remote access, wireless signal, airflow, disc or card access, and physical buttons. Then place equipment with the required clearances. A cabinet door, fabric panel, metal enclosure, or dense stack of devices can affect heat, remote controls, microphones, and radio performance. Test with doors in their normal position.
Route cables by destination: power toward the power zone, network toward the router or switch, and audio-video leads toward the display and speakers. Keep enough slack to slide out one device for service without disconnecting the whole console, but not so much that cable weight hangs from ports. Secure the bundle to furniture, not to delicate connectors.
Use removable rear panels or purpose-made openings only when the furniture design and equipment requirements allow. Do not cut into walls or built-ins without checking for wiring, plumbing, structure, fire-stopping requirements, lease restrictions, and applicable rules. When an in-wall route is desired, use cables and installation methods approved for that location and have an appropriate professional plan or perform the work.
Hide speaker cables without hiding the speaker
A speaker needs to interact with the room. Do not cover its drivers, grille, acoustic ports, passive radiators, microphones, controls, antennas, or ventilation. Avoid wedging it tightly into a compartment unless the manufacturer approves that placement. Concealing the speaker behind décor may alter sound, interfere with voice pickup or controls, trap heat, or make left and right channels behave differently.
For wired speakers, follow the equipment maker’s requirements for cable type, polarity, length, routing, and terminal preparation. Use a broad path along a baseboard, approved surface raceway, furniture edge, or another suitable route. Protect any floor crossing with a product rated for the surface and traffic, or preferably reroute it out of the walking path. Never put a rug over a cord merely to make it disappear.
For wireless speakers, remember that “wireless” usually does not mean cable-free. Power still needs a safe route, and network or radio conditions still matter. Before hiding a speaker or access point, read the planning advice in Wi-Fi extenders versus mesh systems. Test playback, grouping, control, updates, and reconnection after power loss in the final position.
Protect audio and video performance
After routing, test with content you know. Listen for hum, buzz, missing channels, weak bass, timing differences, or changes in stereo balance. Check the picture at intended resolution and refresh settings, and verify every input. Problems that appear only after concealment may come from a stressed connector, an unsuitable cable, a new interference path, blocked ventilation, or equipment moved away from its effective position.
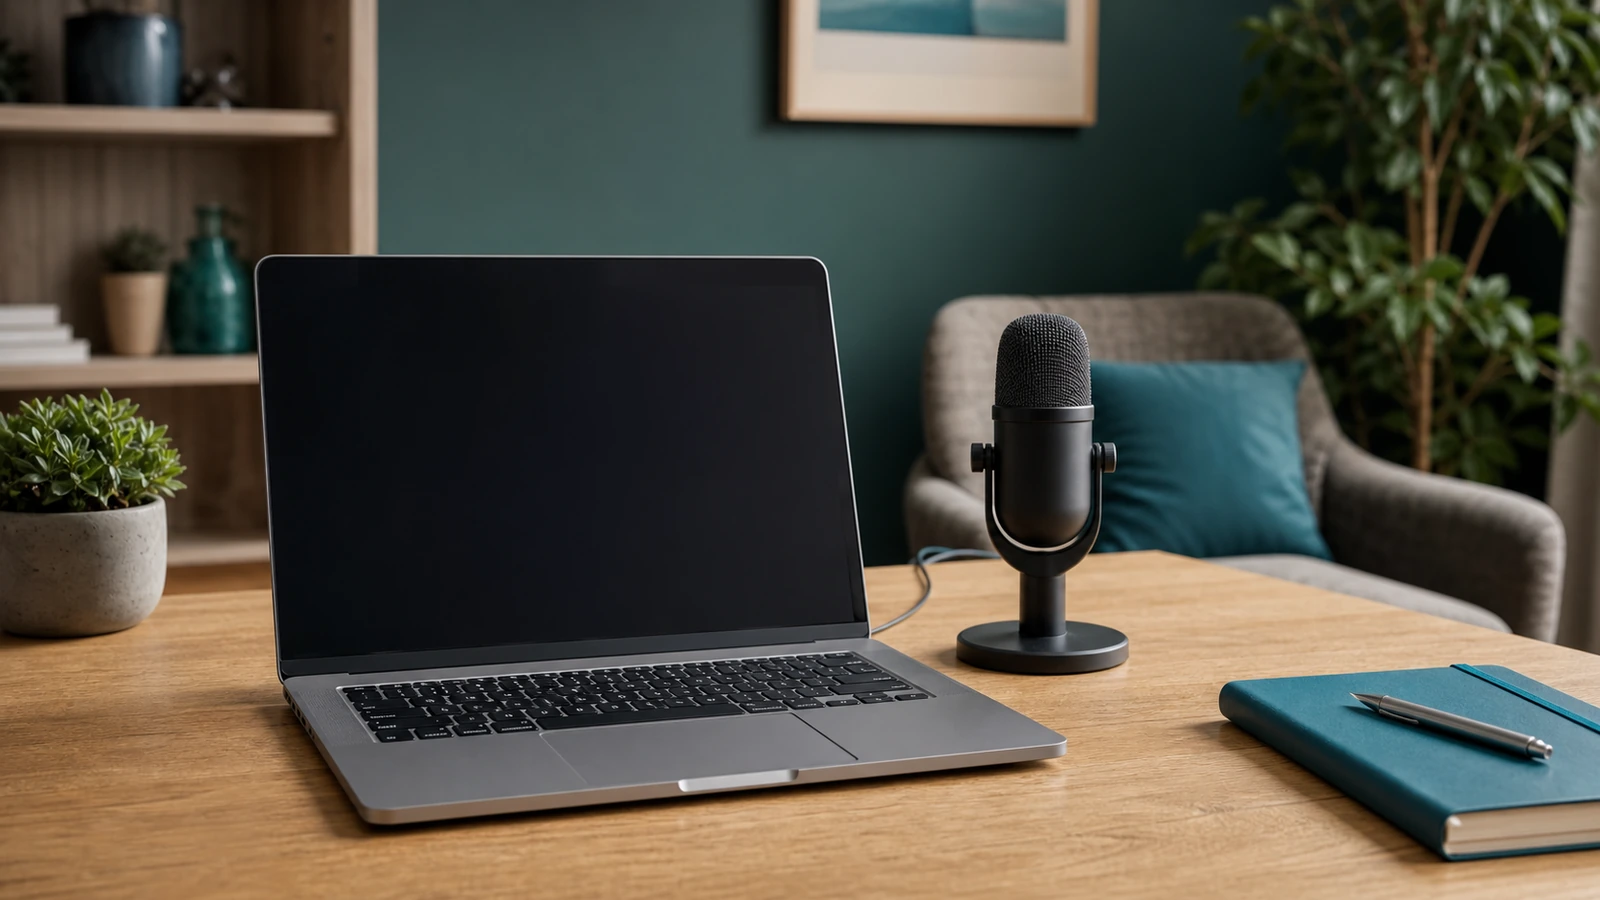
Video calls are a useful whole-system test. Confirm that the camera has a stable data connection, the microphone is not hidden, speakers do not feed back into the microphone, and charging does not create noise or performance problems. For placement guidance beyond cable routing, see how to make video calls look and sound better.
Change one variable at a time. Temporarily separate a suspect cable from the bundle, reconnect a known suitable cable, open the cabinet, or return a speaker to its prior location. Do not assume an expensive organizer or cable will solve a fault without diagnosis.
Handle floor paths and doorways cautiously
The best floor cable is usually one that can be rerouted to the perimeter. When a crossing cannot be avoided, use a protector suitable for the cable count, floor material, foot or equipment traffic, and location. It should lie stable without creating a worse trip edge. Inspect it periodically because covers can shift and cables can be crushed.
Do not run cables where doors, drawers, recliners, casters, pets, or cleaning equipment can pinch or pull them. Thresholds and egress paths may have special requirements. Public, shared, rented, or accessible spaces can add obligations beyond household aesthetics, so consult the property manager or a qualified professional rather than improvising.
Prefer reversible methods in rentals
Use freestanding furniture, removable organizers, and approved surface methods when permanent changes are not authorized. Read lease terms before drilling, cutting, painting raceways, or modifying built-ins. Even removable adhesives can lift paint, veneer, or finish. Test a hidden area, follow removal directions, and avoid placing valuable devices where an adhesive failure could cause a fall.
A painted surface raceway can visually merge with a wall, but it is still an installation component. Choose a product appropriate for the cable type and location, do not overfill it, and keep required access. Never assume a decorative channel makes an unsuitable electrical route acceptable.
Label for the person who troubleshoots later
Labels do not need to be visible from the room. Put matching identifiers near both ends, inside the console, or on a simple diagram. Use device and destination names such as “monitor to dock” or “left speaker,” not only cable categories. Photograph the final arrangement with doors open and save the equipment manuals and purchase details in a household record.
Keep one small service loop and one obvious disconnect path where the documentation permits. A technician or household member should be able to isolate one device without pulling an entire bundle. Reusable ties make changes easier than permanent fasteners. Leave spare capacity in a channel or support route only within the organizer’s limits; an overfilled organizer is difficult to inspect and may stress cables.
Test the finished system before calling it done
- Inspect. Check plugs, insulation, connectors, supports, bend radius, clearance, ventilation, and access.
- Move. Operate desks, chairs, drawers, doors, mounts, and cleaning tools through normal ranges.
- Power. Connect equipment according to its instructions and observe for unusual odor, heat, noise, instability, or damage.
- Verify every function. Test charging, data, picture, sound, network, remotes, microphones, and device controls.
- Test the room. Walk all paths, sit in each listening position, and view the setup from normal sight lines.
- Document. Save a photograph, cable map, device list, and any special restart sequence.
- Recheck. Inspect after several days of ordinary use, then periodically and whenever equipment changes.
Common cable-management mistakes
The first is organizing without removing anything. The second is using one enormous tight bundle for every path. The third is hiding a power problem inside a decorative box. The fourth is mounting hardware without considering weight, heat, finish, or movement. The fifth is making a system so inaccessible that routine troubleshooting requires cutting ties or moving heavy furniture.
Another mistake is treating visual symmetry as more important than speaker placement, wireless signal, or camera and microphone function. The cure is to define performance checks before concealment. If the cleanest-looking position sounds worse, runs hotter, disconnects, or strains a port, it is not the finished position.
Cable-management FAQ
Can I put a power strip in a cable-management box?
Only when the power product and enclosure are suitable for that use and all ventilation, access, loading, and placement instructions can be followed. Do not treat a generic decorative box as proof of electrical suitability. When uncertain, keep the equipment open and accessible or ask a qualified professional.
Is it safe to run a cord under a rug?
Do not use a rug as a cable protector. It can hide damage, create pressure and heat concerns, and leave a trip condition. Reroute the cable or use an appropriate rated solution after checking the cable, location, and applicable instructions.
Should power and signal cables always be separated?
There is no single spacing rule for every home system. Equipment, shielding, signal type, installation method, and local requirements differ. Follow product documentation, avoid unnecessary parallel bundling, and separate and test paths if hum, interference, or instability appears.
How much slack should I leave?
Leave enough for connection, normal movement, and service without tension, while preventing loops from entering feet, wheels, mechanisms, or heat sources. Respect the cable’s bend requirements and support its weight away from the connector.
Can wireless speakers be enclosed?
Only in placements permitted by the manufacturer. An enclosure can affect sound, bass ports, microphones, controls, heat, and radio performance. Test the exact final position and keep required openings clear.
The takeaway
Good cable management is a map, not a magic trick. Remove what is unused, give each remaining path a clear job, support cables without crushing or tension, and keep electrical equipment ventilated and reachable. Conceal routes along furniture or approved channels while protecting speaker, network, charging, audio, and video performance. When the system can be inspected, disconnected, and restored without dismantling the room, it is both tidier and more likely to stay that way.

Madison Rowe
Madison Rowe is a Disco Lift staff byline covering everyday technology, digital organization, privacy, and connected devices. Articles published under this pen name are reviewed under Disco Lift’s editorial standards.