

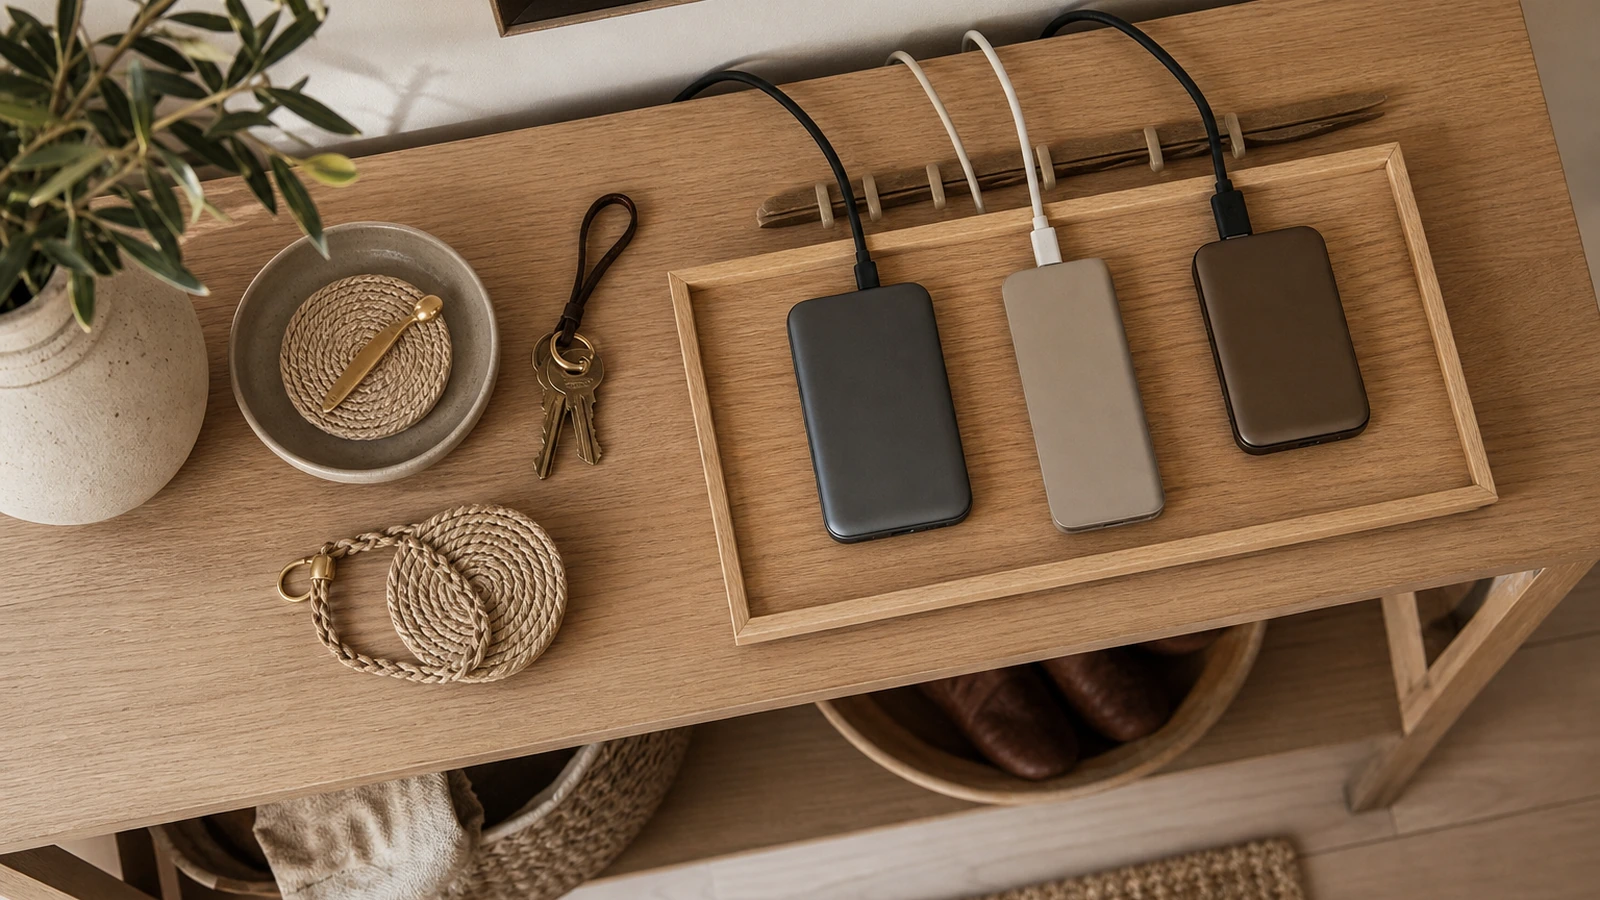
An entryway charging station succeeds when arriving home and leaving again require almost no thought. Each frequently carried device has a clear landing place, the correct charging connection is already there, keys and mail do not bury the equipment, and nobody has to pull a power strip across a walkway. The station should look composed from the room while remaining easy to inspect, clean, and change.
Design the routine before buying a tray or multi-device charger. Identify what actually arrives through the door, who uses it, how long it normally stays, and which items must leave fully charged. Charger output, cable capability, device support, ventilation needs, electrical ratings, and mounting instructions vary. Check the documentation for every component, keep equipment dry and undamaged, and use a qualified electrician for fixed wiring, damaged outlets, recurring heat or odor, loose connections, or any installation question.
Start with the arrival routine
Watch what happens during three ordinary arrivals. A phone may remain in a pocket, while earbuds, a work badge, keys, and a bike light land on the nearest surface. Another household member may need a tablet overnight but carry it through a different door. Record those real paths instead of designing around an idealized collection of gadgets.
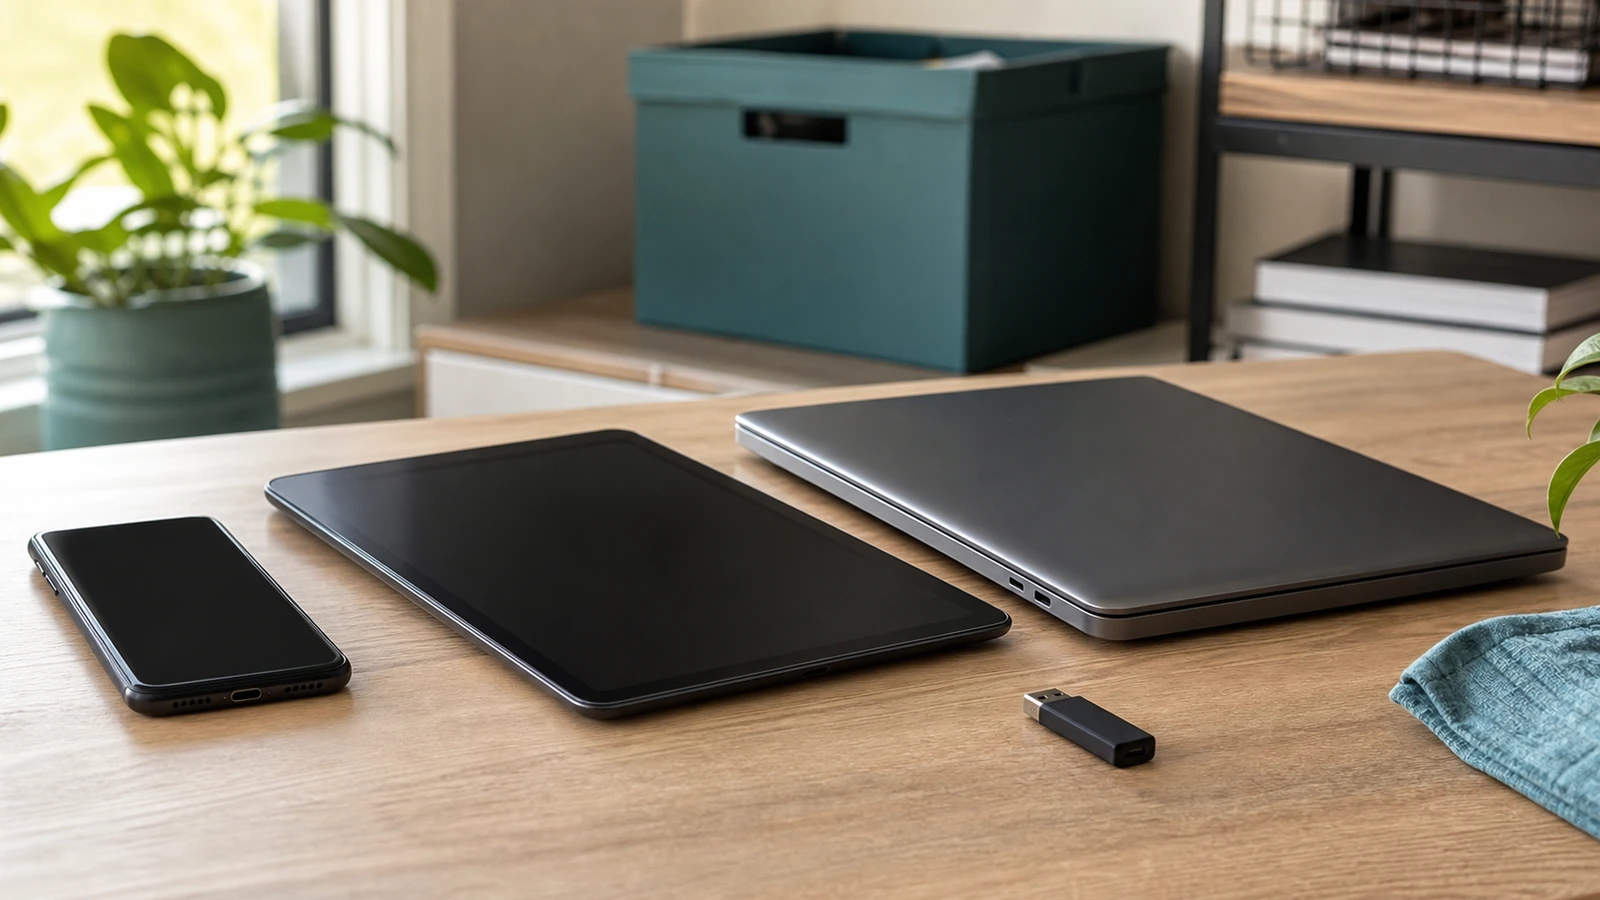
Make a small inventory with four details: device owner, connection or charging method, usual arrival time, and required departure time. Include items charged only occasionally, such as a flashlight or portable battery, but do not give rare equipment prime space. Store seldom-used accessories elsewhere and bring them to the station when needed. This keeps the daily layout legible.
Decide whether the entryway is the right charging location for every item. A shared tablet may belong near the kitchen; a laptop may need a more stable desk; a wearable that must be used overnight needs another home. The station becomes more reliable when it handles a limited, predictable set rather than every rechargeable object in the house.
Choose the location before the furniture
The best position is close enough to the normal route that people will use it, but outside the swing of doors, wet-coat zones, floor-cleaning paths, and places where bags are dropped. Confirm that a console, shelf, or cabinet will not create a pinch point. Leave room to stand, open the door, operate nearby switches, and reach the outlet without stretching a cord across circulation space.
Inspect the surface at eye level and from below. It should be stable, able to support the intended equipment, and deep enough that devices cannot be brushed off by a sleeve or bag. A shallow shelf can work for phones and earbuds but may be unsuitable for a tablet. If a surface is wall-mounted, follow its hardware and wall-substrate instructions; do not assume a decorative shelf is designed for concentrated loads.
Keep the setup away from umbrellas, damp footwear, planters, sinks, and any place where water can collect. Avoid trapping charging equipment against a radiator, sunny window, or heat register. The manufacturer’s required operating conditions and clearances take priority over a perfectly concealed arrangement.
Build a layout with one job per zone
Divide the surface into three zones. The charging zone holds only devices that are connected or ready to connect. The carry zone holds keys, wallet, transit card, or badge. The inbox zone, if needed, is a narrow vertical file or tray for items that must move elsewhere. Physical separation prevents a charging cable from becoming the divider underneath a pile of mail.
| Station element | Useful design choice | Check before committing |
|---|---|---|
| Phone landing place | Open slot or shallow tray with an easy cable path | Device size, case, connector access, and screen visibility preference |
| Small accessories | Separate cups or divided compartments | Enough finger space to remove each item without pulling its cable |
| Tablet position | Stable stand or wide slot set back from the edge | Stand capacity, cable bend, tipping risk, and required ventilation |
| Power equipment | Supported open shelf or accessible ventilated compartment | Electrical rating, plug clearance, heat, disconnect access, and instructions |
| Cable reserve | Small service loop secured away from feet and drawers | No crushing, sharp bending, tension, or obstruction of furniture movement |
| Mail and keys | Distinct tray or vertical holder outside the charging area | Paper cannot cover warm equipment or snag connected devices |
Use the smallest organizer that accommodates the inventory without forcing items together. Empty space is functional: it gives hands room, makes a missing device obvious, improves access for cleaning, and discourages stacking. A lid can reduce visual noise, but it should not conceal a growing tangle or violate ventilation requirements.
Plan power from the device backward
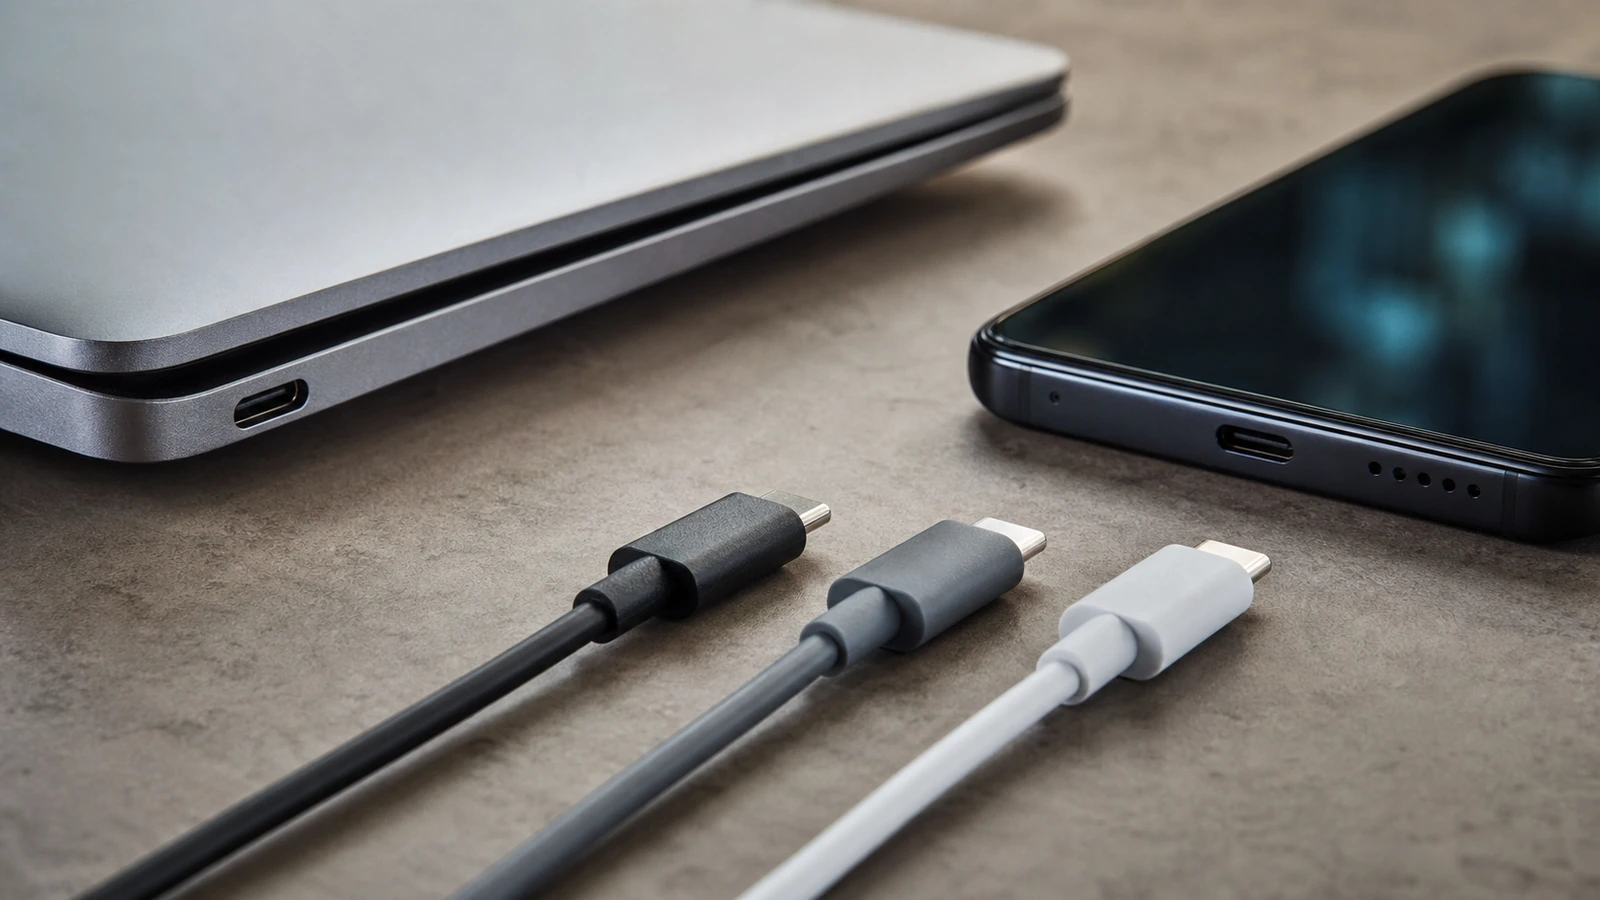
For each device, identify its documented charging requirements, then verify the cable and charger. A connector that fits does not establish charging speed, power capacity, data capability, or suitability. The Disco Lift guide to USB-C ports, cables, charging, and compatibility explains why similar-looking connections can behave differently. Keep a short private note of which cable belongs to which purpose if appearance alone is ambiguous.
Use listed or otherwise appropriately certified products for your location and follow their instructions. Do not daisy-chain power strips or extension devices, force bulky adapters into a crowded arrangement, or use a cable with damaged insulation or a loose connector. A power strip adds receptacles; it does not increase the capacity of the circuit or make every connected load appropriate. If the outlet is loose, discolored, unusually warm, buzzing, sparking, or repeatedly associated with a tripped breaker, stop using the setup and seek qualified help.
Make the disconnect point reachable without moving heavy furniture or dismantling an organizer. Power adapters and charging devices can produce heat, so do not wrap them in fabric, bury them under paper, or seal them in a box unless the exact product instructions allow that placement. Check the station under ordinary use rather than assuming a cool surface means every hidden component is fine.
Contain cables without making them permanent
Choose cable lengths after placing the furniture and devices. The goal is enough slack to connect and remove an item without tugging, plus a modest service loop for maintenance. Large coils invite tangles and occupy ventilation space; very tight paths strain connectors. Route cables along a protected furniture edge, never across the floor or through a door opening.
Use removable clips, hook-and-loop ties, or an organizer designed for the cable size. Test an adhesive product on an inconspicuous area and follow its surface preparation, load, and removal directions. Do not staple, pierce, sharply crease, or crush a charging cable. Keep moving drawers and doors from rubbing it. If a route enters a wall, cabinet construction, or fixed electrical area, confirm the applicable product rating and local requirements with an appropriate professional.
Leave both cable ends identifiable. Color coding can help if it fits the decor, but spatial assignment is often calmer: the left cable always serves one phone slot, the center connection serves earbuds, and the right stand serves a tablet. A small hidden diagram inside a cabinet can document the arrangement without putting labels in view.
Reduce visual clutter with material and repetition
Match the organizer to one existing entryway material—wood tone, metal finish, woven fiber, or a quiet neutral—instead of matching every object. Repeating the console color in cable clips or using one style of tray lets the equipment recede. Avoid organizers so dark or deep that small devices disappear inside them.
Align device slots with the furniture edge and keep cable exits on one side. This creates visual order even when devices differ. A vertical stand reduces footprint, while a shallow horizontal tray makes connections and indicator lights easier to inspect. Choose based on actual handling and manufacturer guidance, not just the cleaner product photograph.
If indicator lights are distracting, first check whether the product offers an approved setting. Do not tape over a light that communicates a fault, block an opening, paint hardware, or place a decorative object where it traps heat. Concealment should never make equipment status or damage harder to notice.
Make the household routine explicit
Give each resident a defined spot and agree on what does not belong there. Guests need not understand the entire system; one open cable or spare receptacle may be more useful than a tightly optimized arrangement. Preserve a nearby ordinary charging option for an incompatible device rather than constantly rebuilding the station.
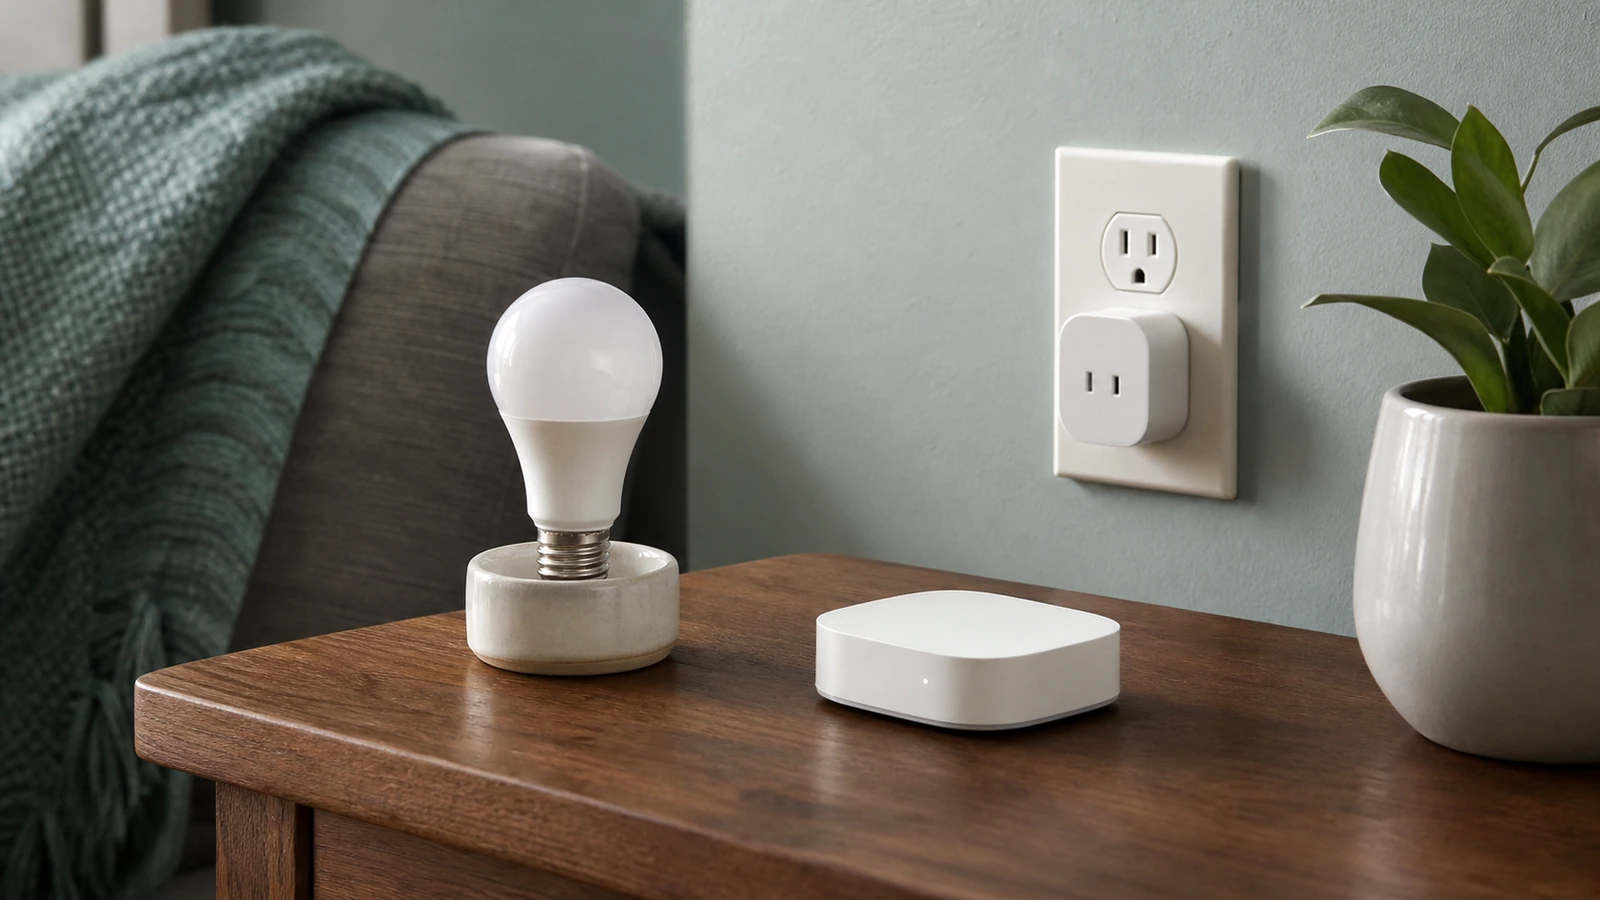
A smart plug or schedule is not automatically helpful. Some devices manage charging internally, and abruptly switching their power may not provide the expected benefit. If automation is considered, verify compatibility and behavior in the exact product documentation. The smart plugs, bulbs, and hubs starter guide offers a routine-first framework and emphasizes keeping manual control.
Households with young children or pets should treat dangling cords, small accessories, accessible batteries, and climbable furniture as design constraints. Follow applicable product and furniture safety instructions, keep hazards out of reach, and do not rely on a decorative box as a child-resistant enclosure. Accessibility matters too: connectors should be reachable without painful bending or fine-motor strain, and essential items should not depend on a tightly fitted slot.
Test the station as a complete system
Connect the ordinary set of devices and observe the setup during a normal charging period. Confirm that every item charges as expected, cables remain relaxed, adapters stay accessible, and no component shows concerning heat, smell, sound, discoloration, or intermittent connection. Test removing one device without disturbing the others. Open every nearby drawer and door to find hidden rubbing or pinching.
Then rehearse departure. Can each person identify and collect the correct devices, cables, keys, and badge quickly? Does removing a phone drag its cable behind the console? Does a missing item remain visible, or can it hide under mail? Adjust the physical layout before adding more compartments.
Common reasons charging stations become cluttered
- Too many categories: The station becomes a general electronics drawer. Move repair parts, old cables, and occasional chargers to labeled storage elsewhere.
- No capacity limit: A tray accepts unlimited mail and accessories. Give each zone a physical boundary and clear it when full.
- One cable expected to do everything: Devices share a connector shape but require different capabilities. Assign verified cables to defined jobs.
- Power hidden too thoroughly: Adapters become difficult to inspect or disconnect. Restore access and ventilation rather than prioritizing a seamless appearance.
- Furniture chosen first: A beautiful console is too shallow or far from power. Measure the device layout and cable route before purchase.
- No maintenance owner: Damaged or obsolete items accumulate. Assign one person to review the station while allowing everyone to report problems.
A five-minute maintenance rhythm
Once a week, return misplaced objects, recycle unwanted paper, wipe the surface according to material instructions, and check that cables remain in their clips. Once a month, inspect connectors, adapters, cable jackets, furniture attachment, and the outlet area without opening equipment. Remove accessories that no longer serve a current device.
Review the whole layout when a device, case, charger, household member, or departure routine changes. Before giving away obsolete electronics, follow a proper data and account-removal workflow; the guide to selling, donating, or recycling an old device can help. Organization is easier when outdated hardware leaves intentionally rather than settling at the back of the tray.
FAQ
Should an entryway charging station be hidden in a drawer?
Only if the furniture, power arrangement, charger instructions, cable movement, and ventilation needs support that use. A drawer can reduce visual clutter but can also pinch cables, trap heat, and hide damage. An open, set-back shelf is often easier to inspect and maintain.
Is a multi-device wireless charger automatically tidier?
No. It may reduce visible cables, but every device and case must be compatible, alignment must be repeatable, and the charger still needs suitable power and ventilation. Compare the complete routine with a simple divided tray and assigned wired connections.
How many charging cables should stay at the station?
Keep the cables required for the regular device inventory plus, if useful, one clearly defined guest option. Extra legacy cables make the layout harder to understand. Store verified spares separately and remove damaged or unidentified cables from service.
Can I mount a power strip underneath the console?
Only when the product is designed and instructed for that mounting method and the finished position remains supported, ventilated, dry, undamaged, and accessible. Do not improvise through the enclosure or create strain on the cord. Get qualified advice when the electrical arrangement is uncertain.
The takeaway
A durable entryway charging station is a small household system, not just a decorative tray. Limit it to devices that truly arrive there, assign every item and cable a position, plan compatible power with safe access, and keep mail outside the charging zone. Test the full arrival and departure routine, then use a brief reset to preserve the design. The result should be easy to use, easy to inspect, and easy to change.

Madison Rowe
Madison Rowe is a Disco Lift staff byline covering everyday technology, digital organization, privacy, and connected devices. Articles published under this pen name are reviewed under Disco Lift’s editorial standards.